Identity proofing for standalone usecases
Identity proofing standalone
Introduction
IBM Verify has the ability to integrate with OIDC based identity proofing vendors to external applications. This allows customers to integrate identity proofing into their own applications. This is a more flexible option that requires more attention to identity proofing because it relies on external development efforts.
Prerequisites
- An account with an OIDC based identity proofing vendor.
- The OIDC connection credentials and endpoints.
- Client ID
- Secret
- Metadata URL
- Issuer
- Authorization endpoint
- Token endpoint
- etc.
- An IBM Verify tenant
Configure OIDC provider
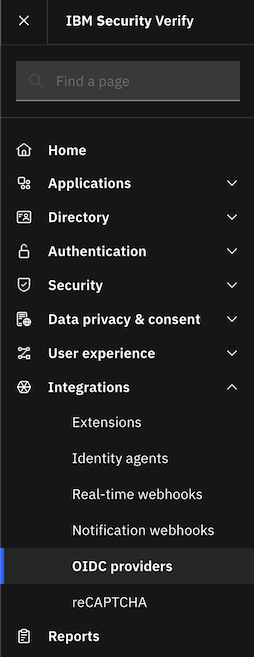
In the IBM Verify Admin UI, navigate in the right panel to Integrations and then select OIDC providers.
Click Create OIDC provider. Verify that Identity proofing is toggled. Click Next.
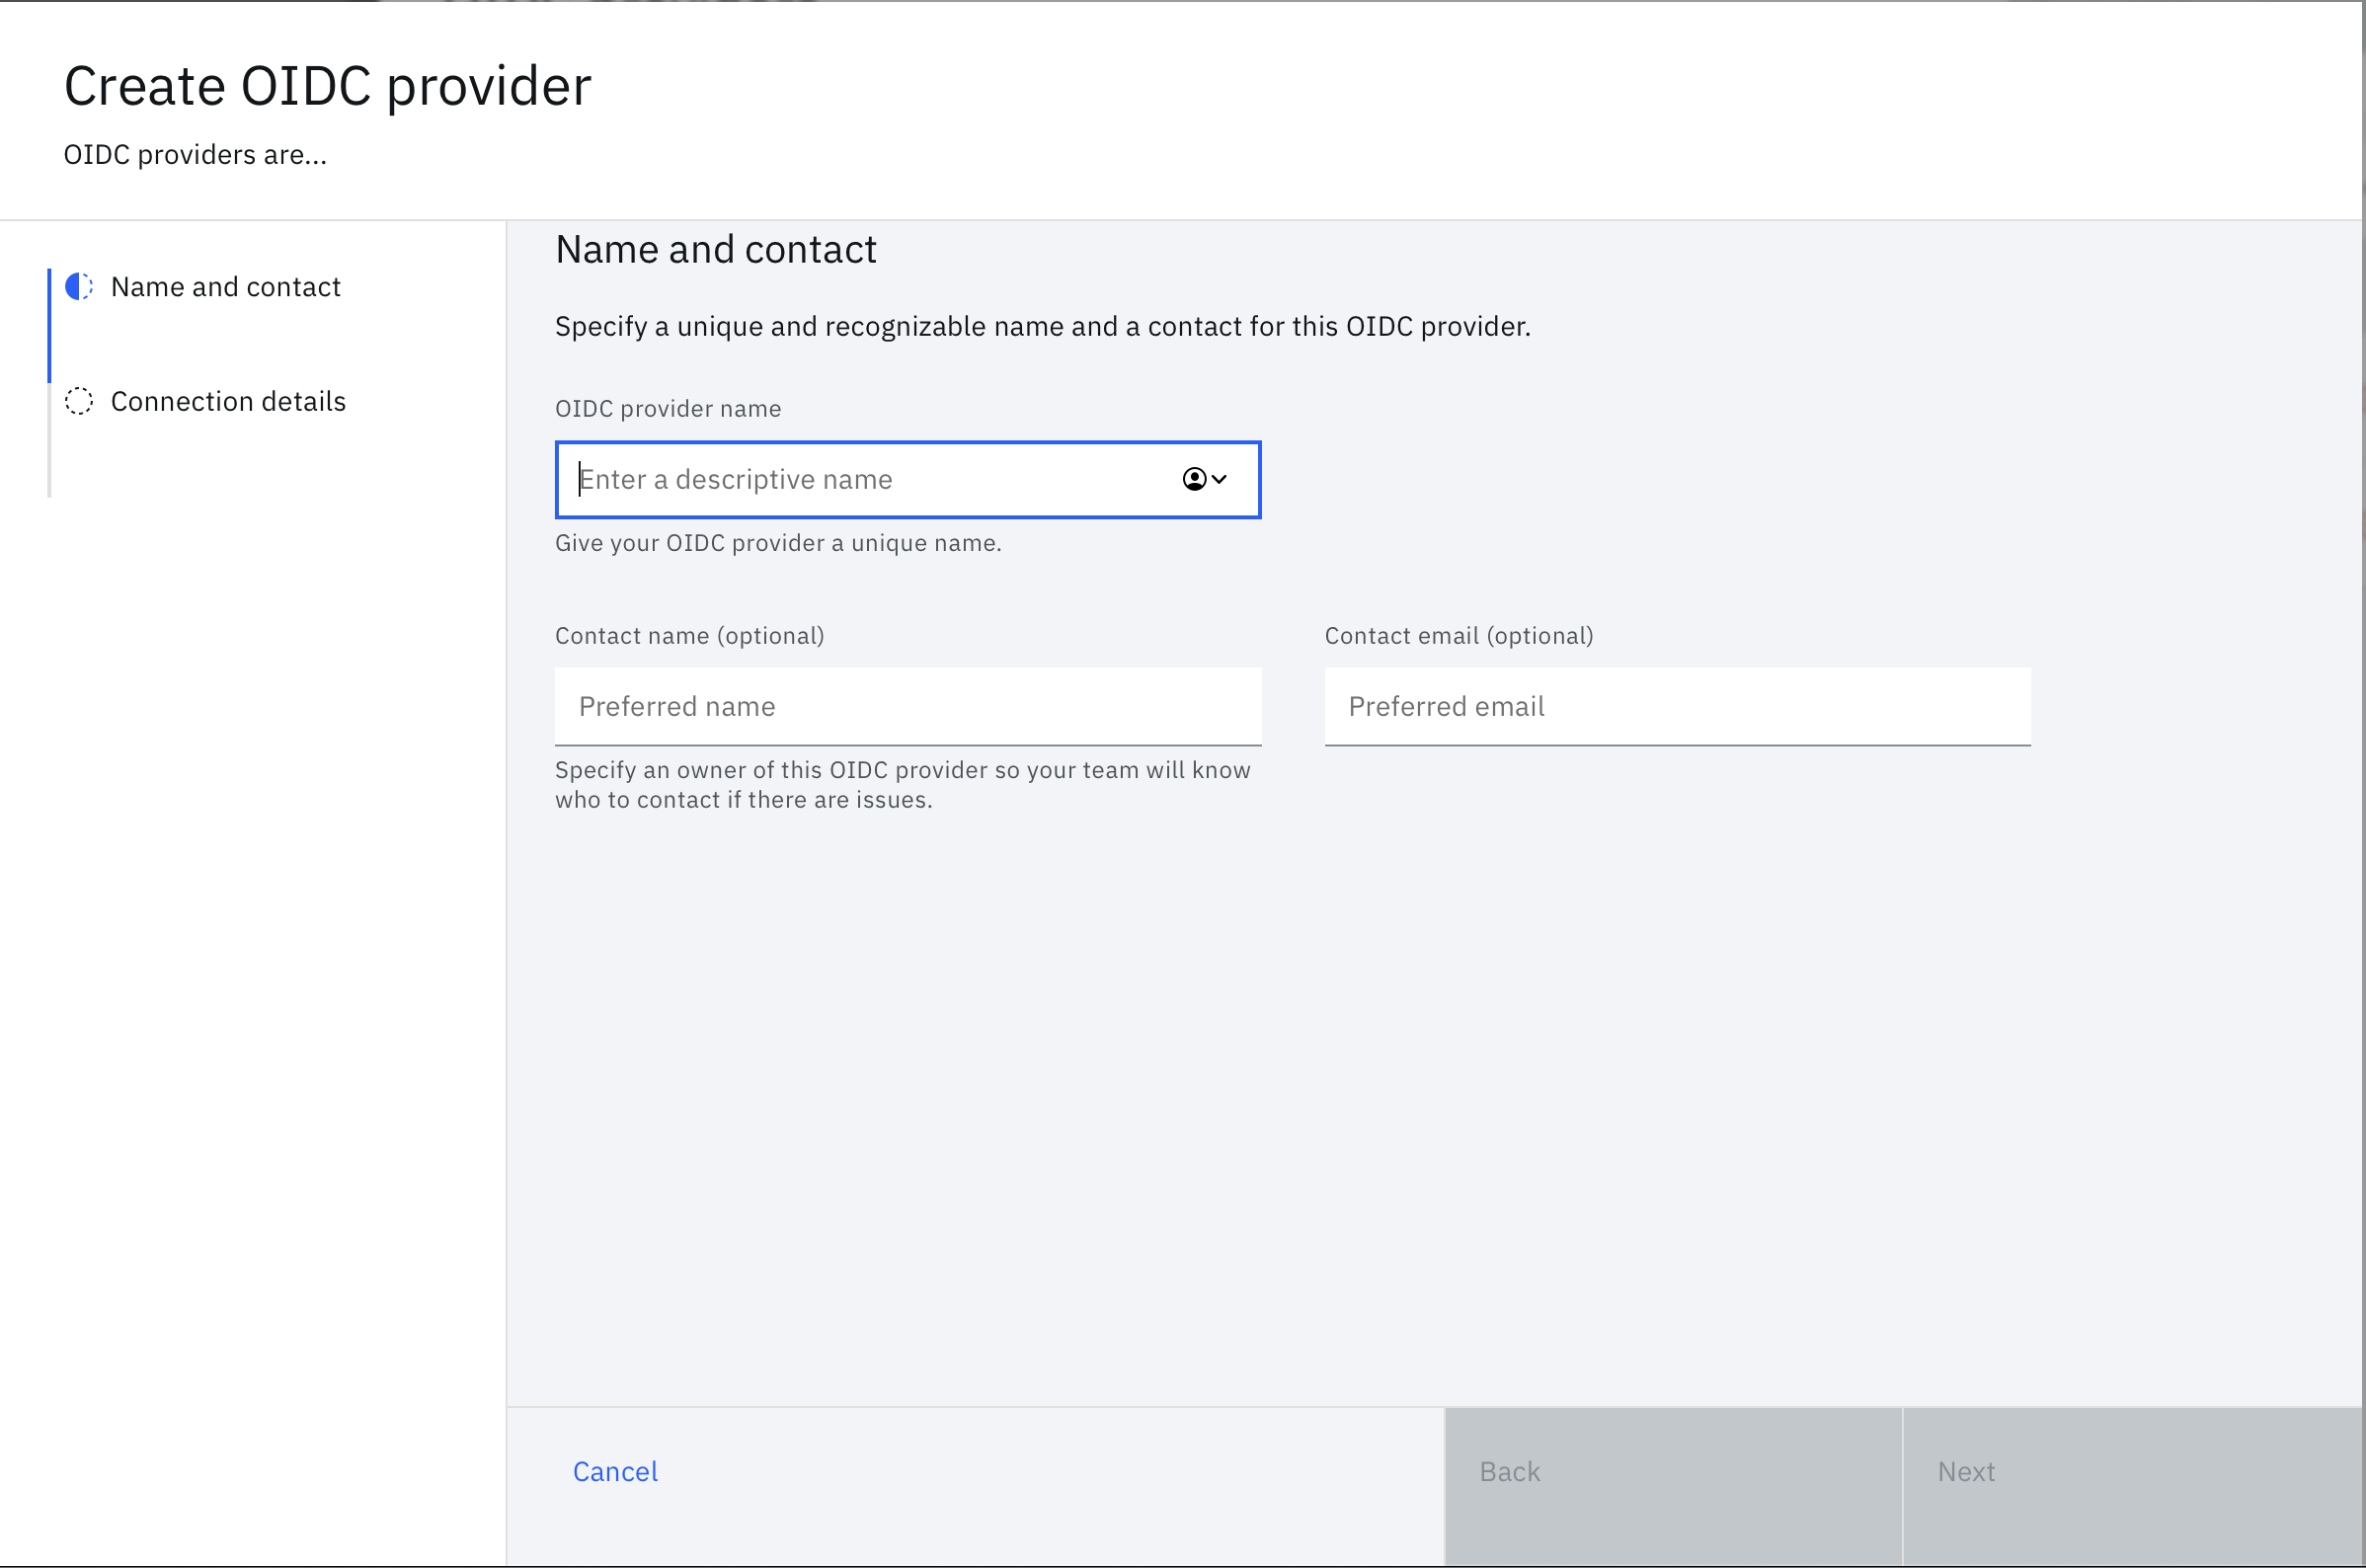
On the next page, in the configuration tile, enter a name for the integration in the OIDC provider name field. Optionally, you can add contact information. Click Next.
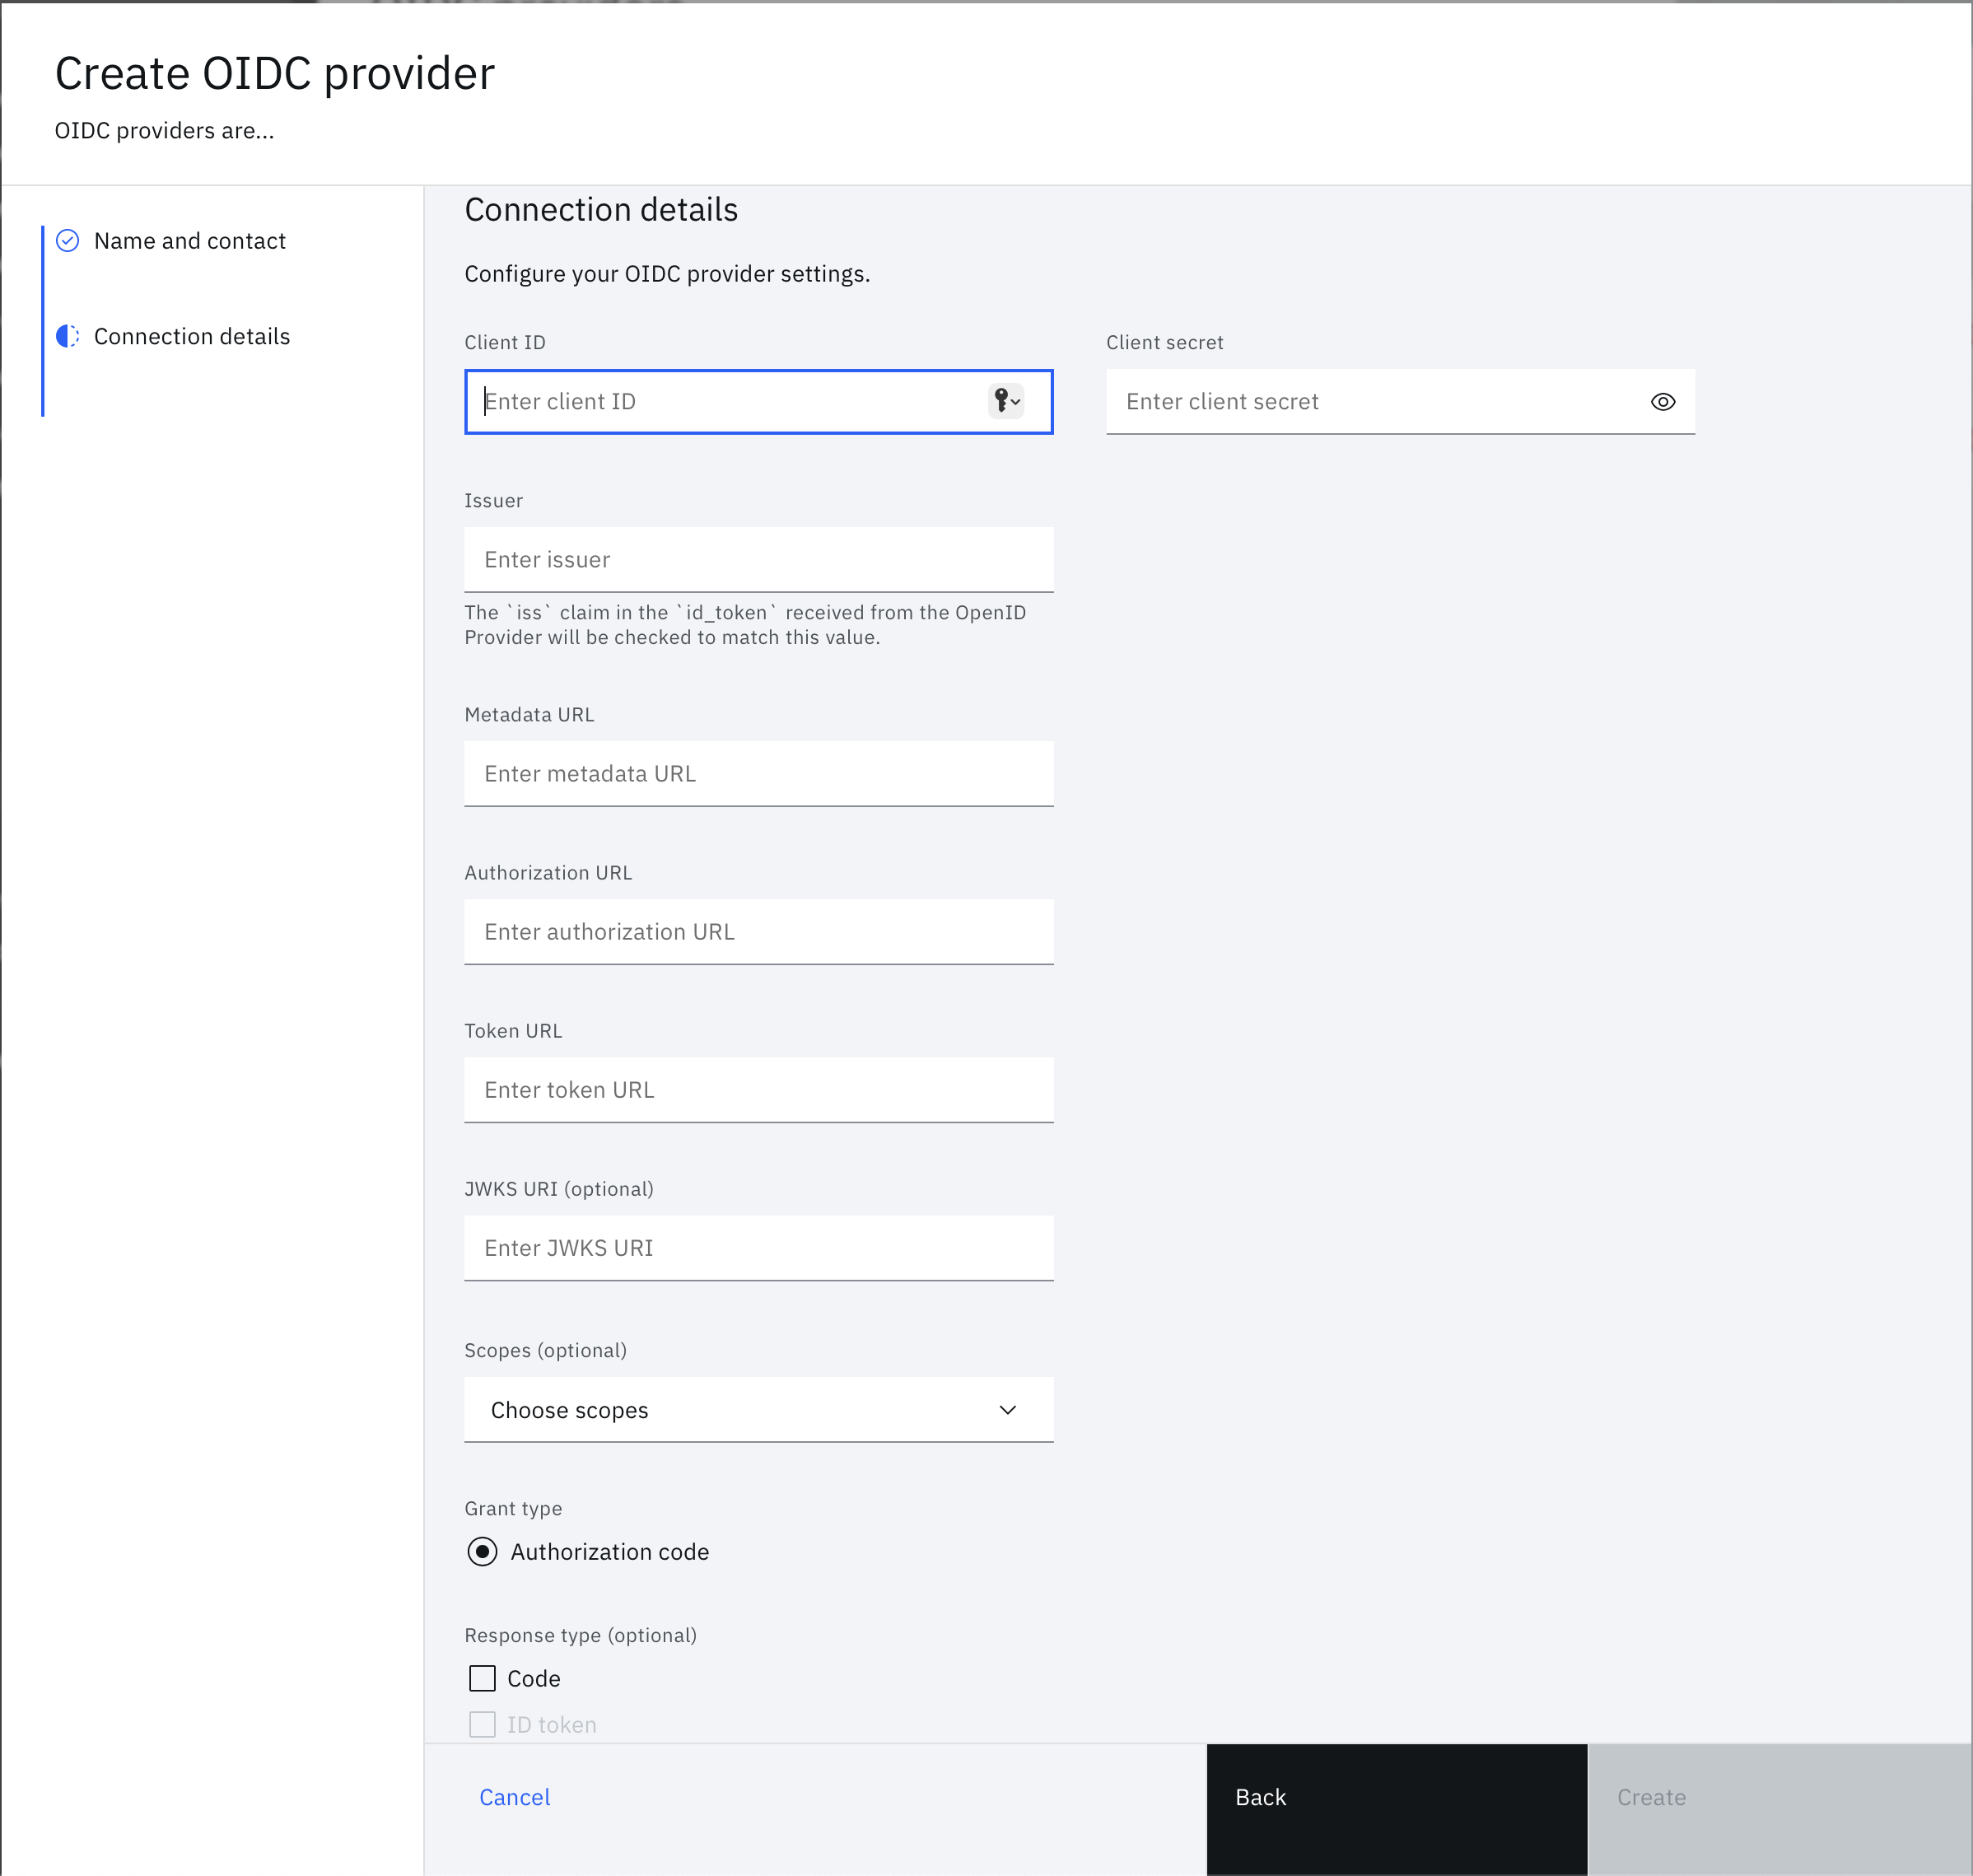
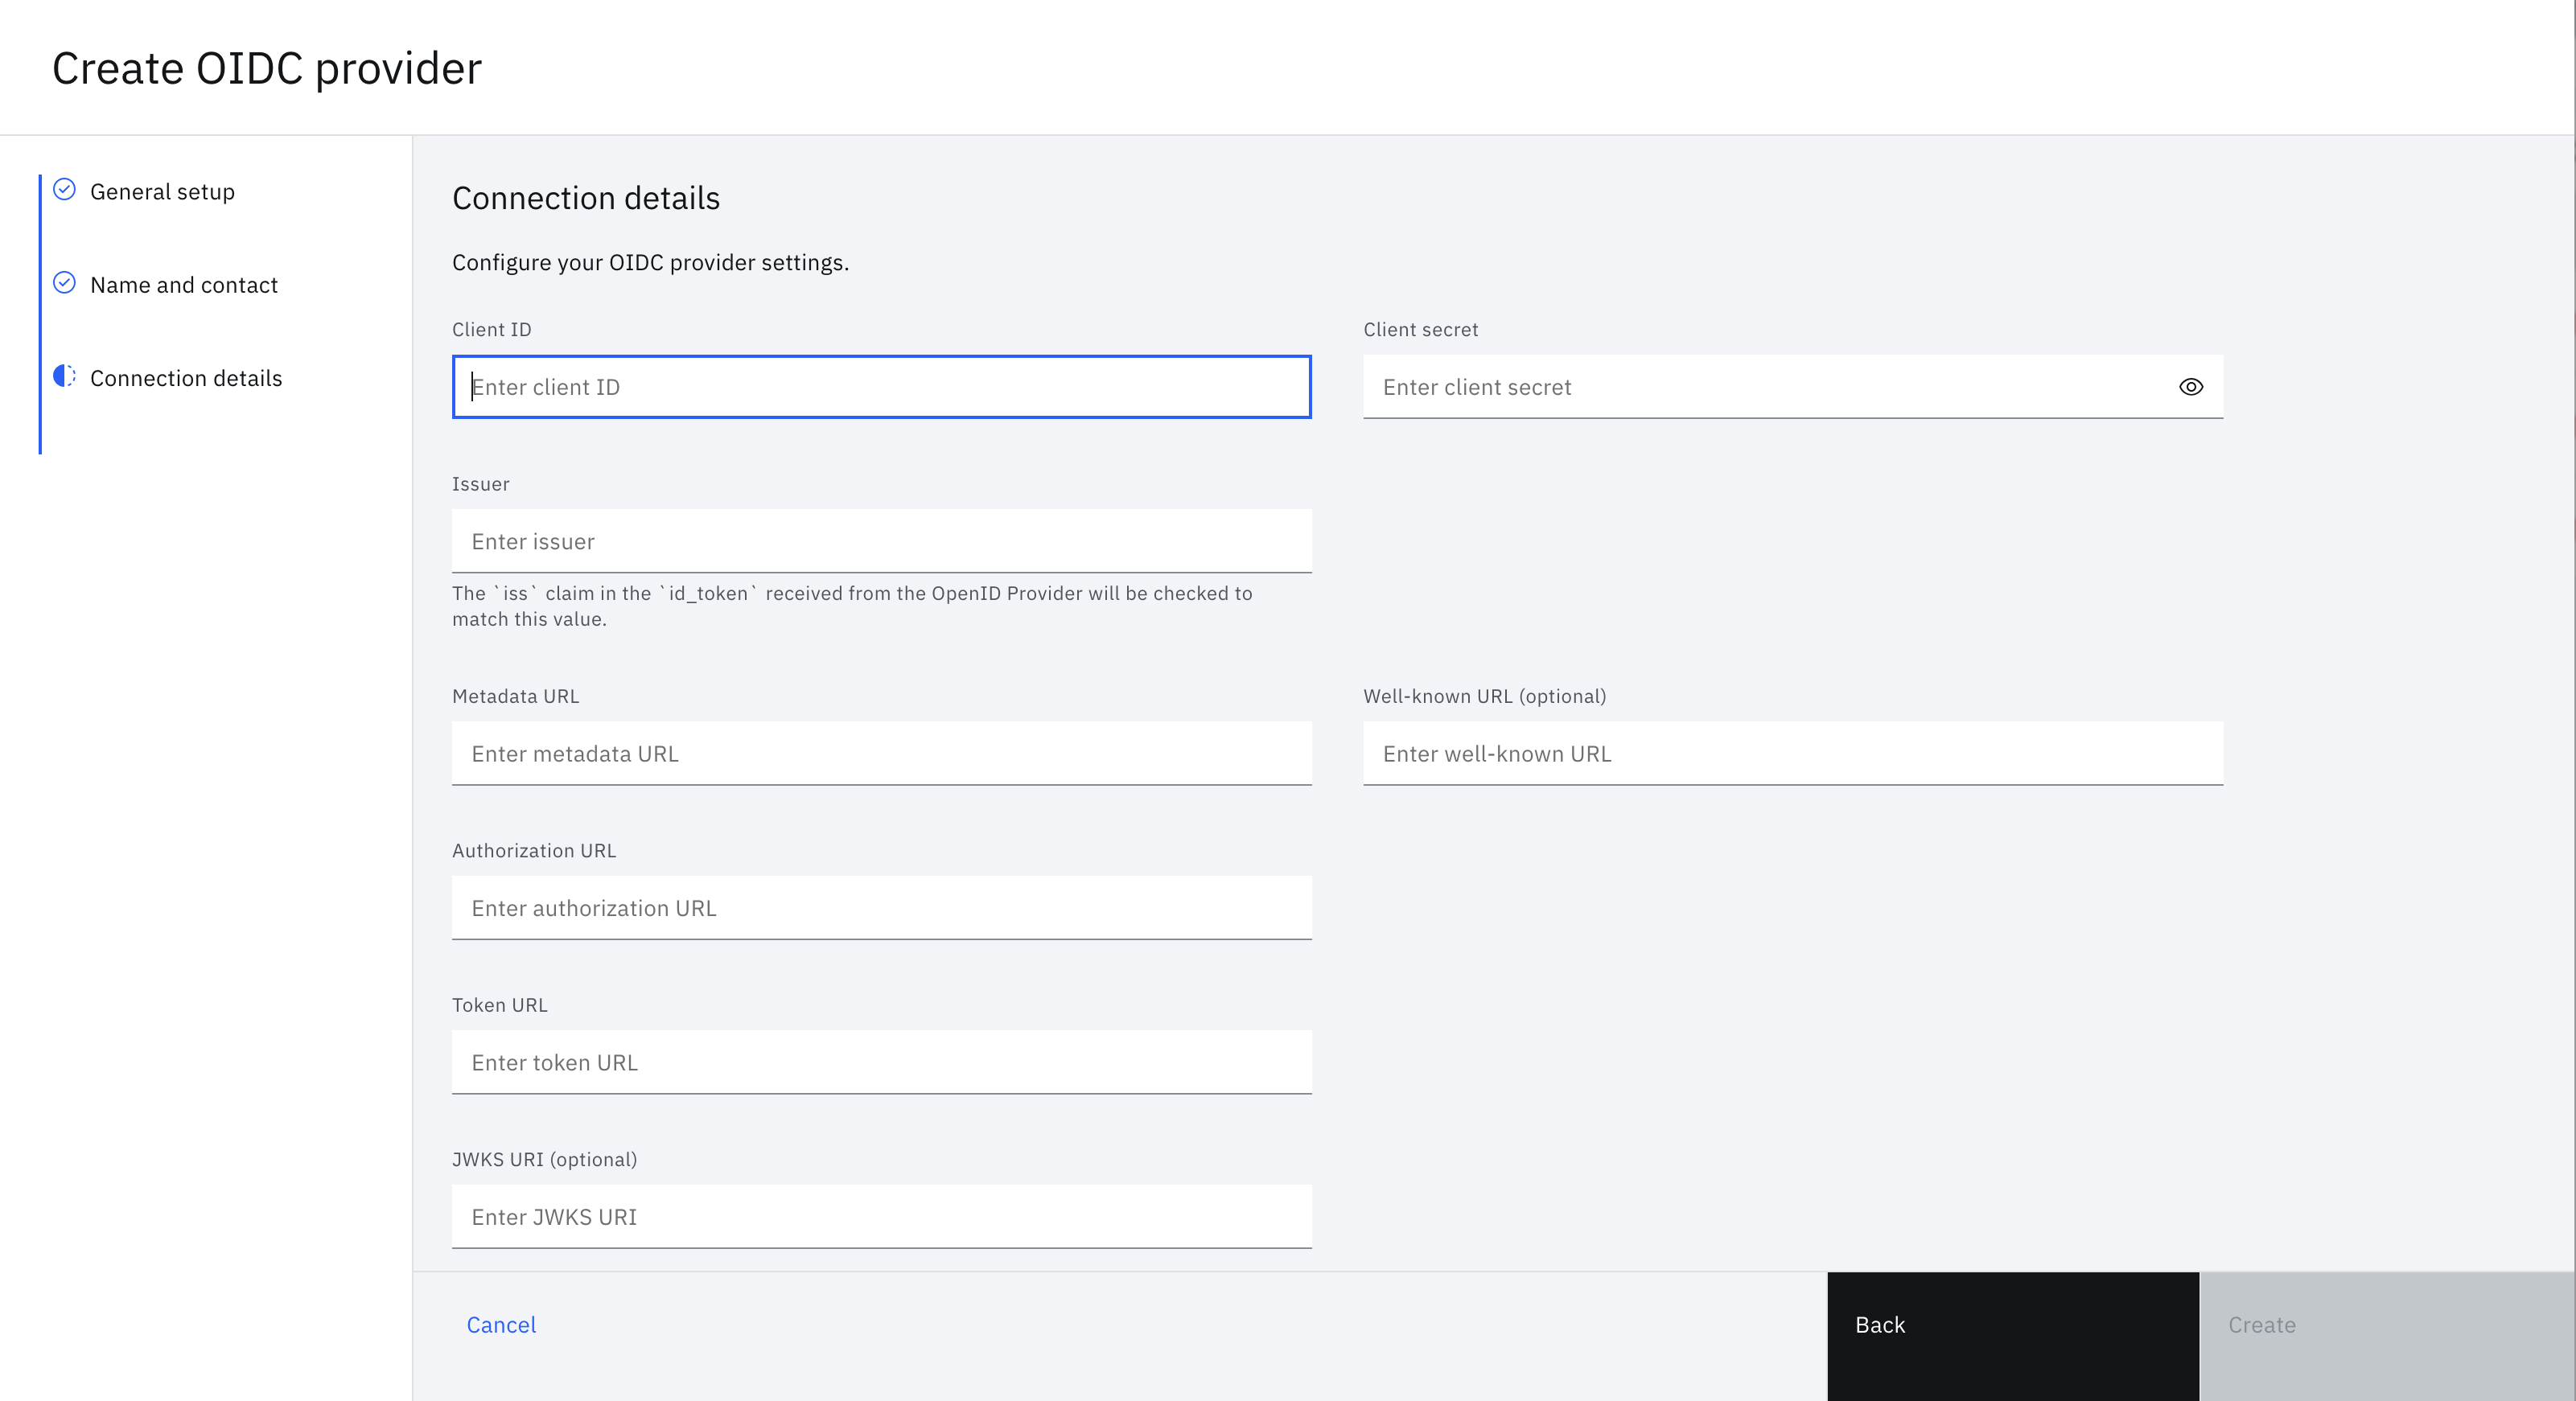
Enter all of the OIDC connection credentials, endpoints, and other information you have about the provider. Click Create to create the OIDC provider on the tenant.
After the OIDC provider is created, edit it to add a corresponding Authorizaton Outgoing Transform and Token Incoming Transform. Scroll to the Resources section and click Add transform under Authorization Outgoing Transform.
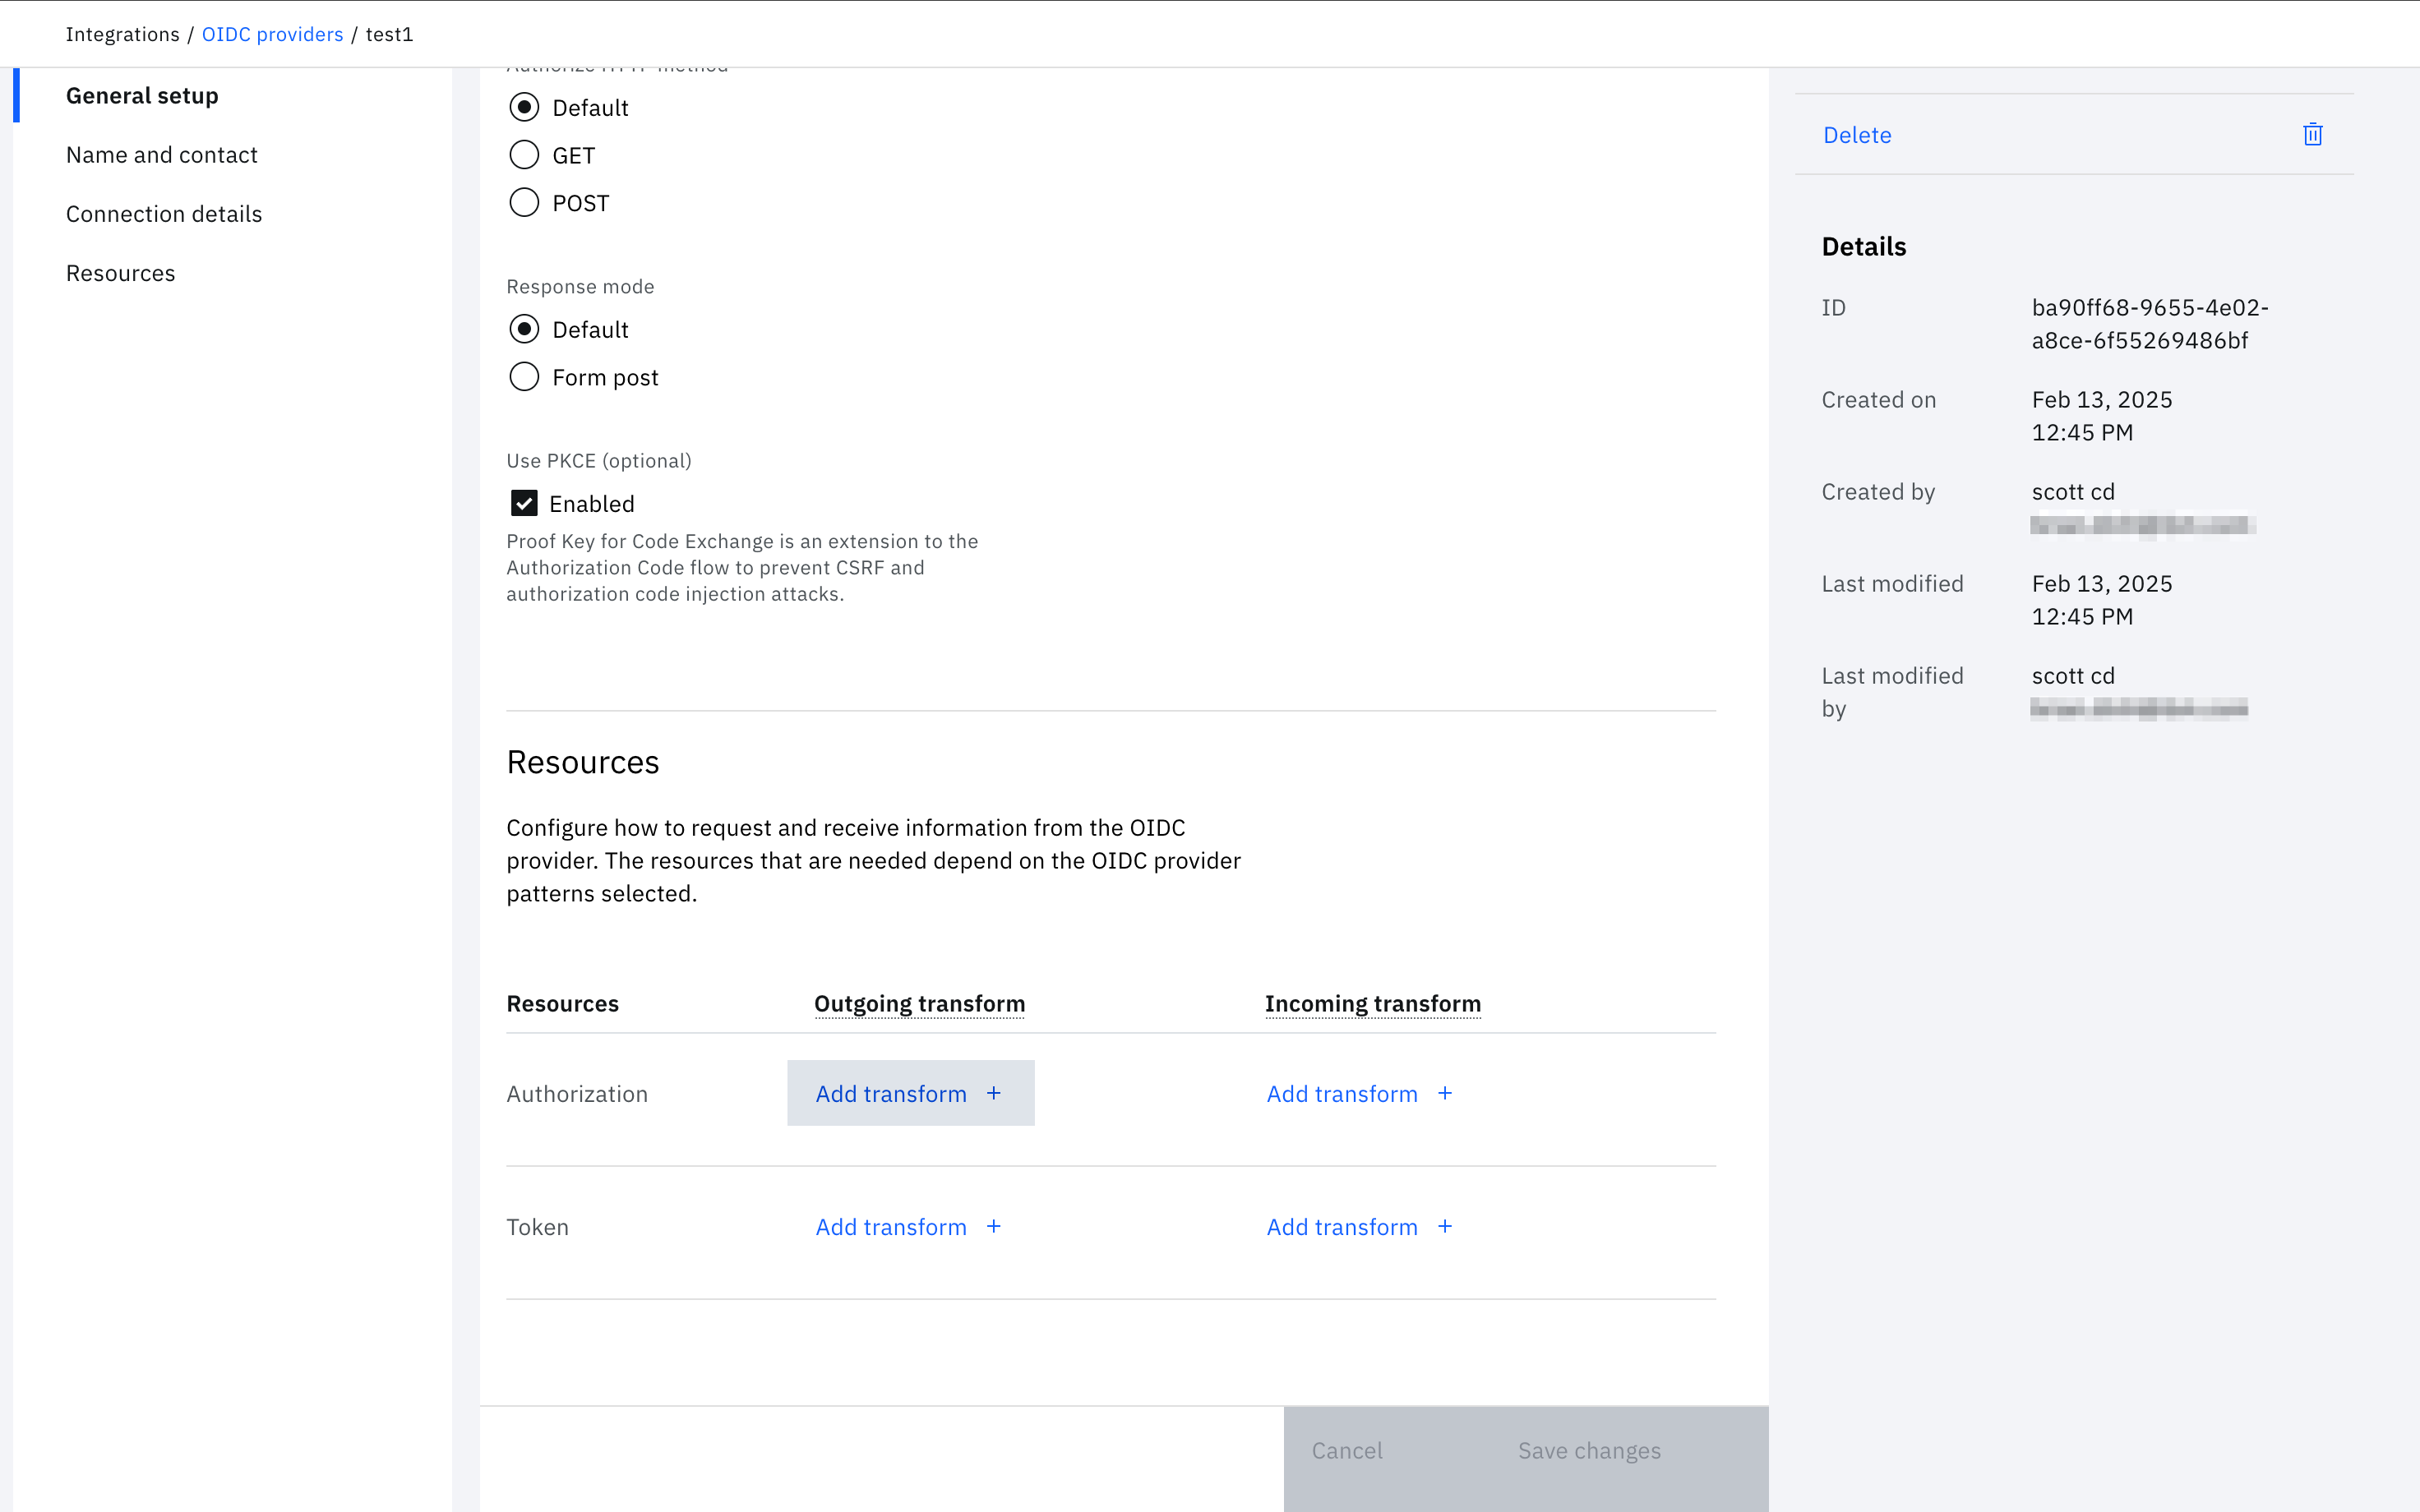
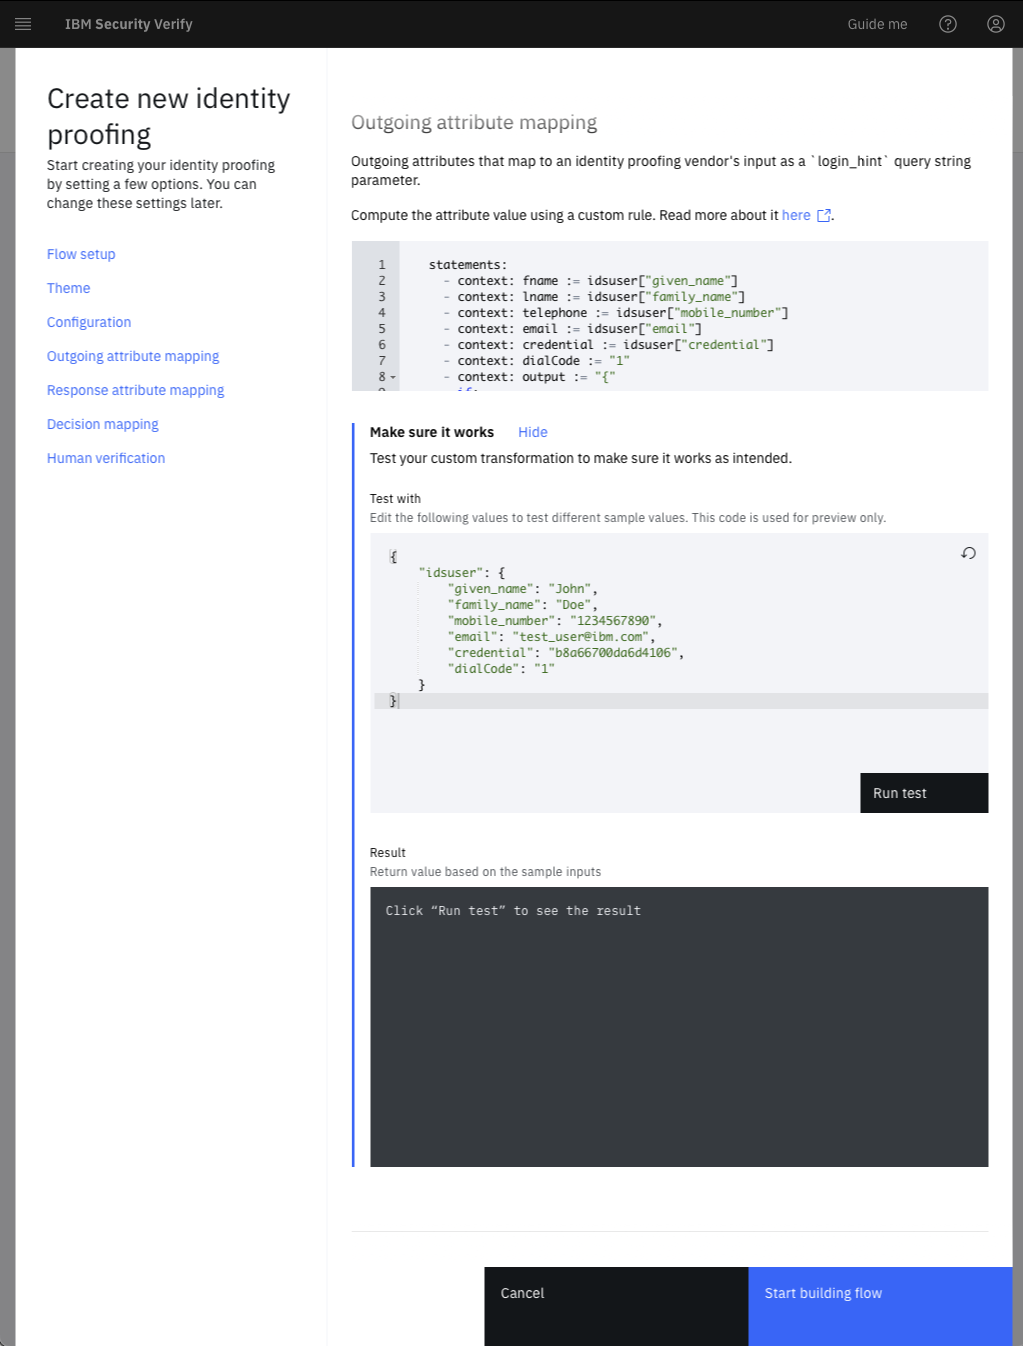
In the interface, you can configure outgoing attributes that map to an identity proofing vendor's input as a login_hint query string parameter. This process is implemented using Verify scripted rules, allowing for the conversion of attributes recognized by IBM Verify into those utilized by the vendor.
Authorization Outgoing Transform Example:
statements:
  - context: fname := args.body.given_name
  - context: lname := args.body.family_name
  - context: telephone := args.body.mobile_number
  - context: email := args.body.email
  - context: clientid := args.body.client_id
  - context: dialCode := "1"
  - context: output := {}
  - context: loginhint := {}
  - if:
      match: context.client_id != ""
      block:
        - context: loginhint = context.loginhint.put('credential',context.clientid)
        - context: loginhint = context.loginhint.put('sub',context.clientid)
  - if:
      match: context.fname != ""
      block:
        - context: loginhint = context.loginhint.put('fname',context.fname)
  - if:
      match: context.lname != ""
      block:
        - context: loginhint = context.loginhint.put('lname',context.lname)
  - if:
      match: context.telephone != ""
      block:
        - context: loginhint = context.loginhint.put('telephone',context.telephone)
  - if:
      match: context.email != ""
      block:
        - context: loginhint = context.loginhint.put('email',context.email)
  - if:
      match: context.dialCode != ""
      block:
        - context: dialCode = context.telephone.replaceAll("-","")
        - context: dialCode = context.dialCode.replaceAll("(","")
        - context: dialCode = context.dialCode.replaceAll(")","")
        - context: dialCode = context.dialCode.replaceAll(" ","")
        - context: dialCode = context.dialCode.replaceAll("+","")
        - context: 'dialCode := context.dialCode.size() > 10 ? context.dialCode.substring(0,context.dialCode.size()-10) : "1"'
        - context: output = context.output.put('dialCode',context.dialCode)
  - context: loginhint = jwt.key('secretkey').sign(context.loginhint,{'alg':'HS256'})
  - context: output = context.output.put('login_hint',context.loginhint)
  - return: jsonToString(context.output)
Click Confirm to create the Authorization Outgoing Transformation. The final step is configuring the Token Incoming Transform. Click Add transform under Token Incoming Transform.
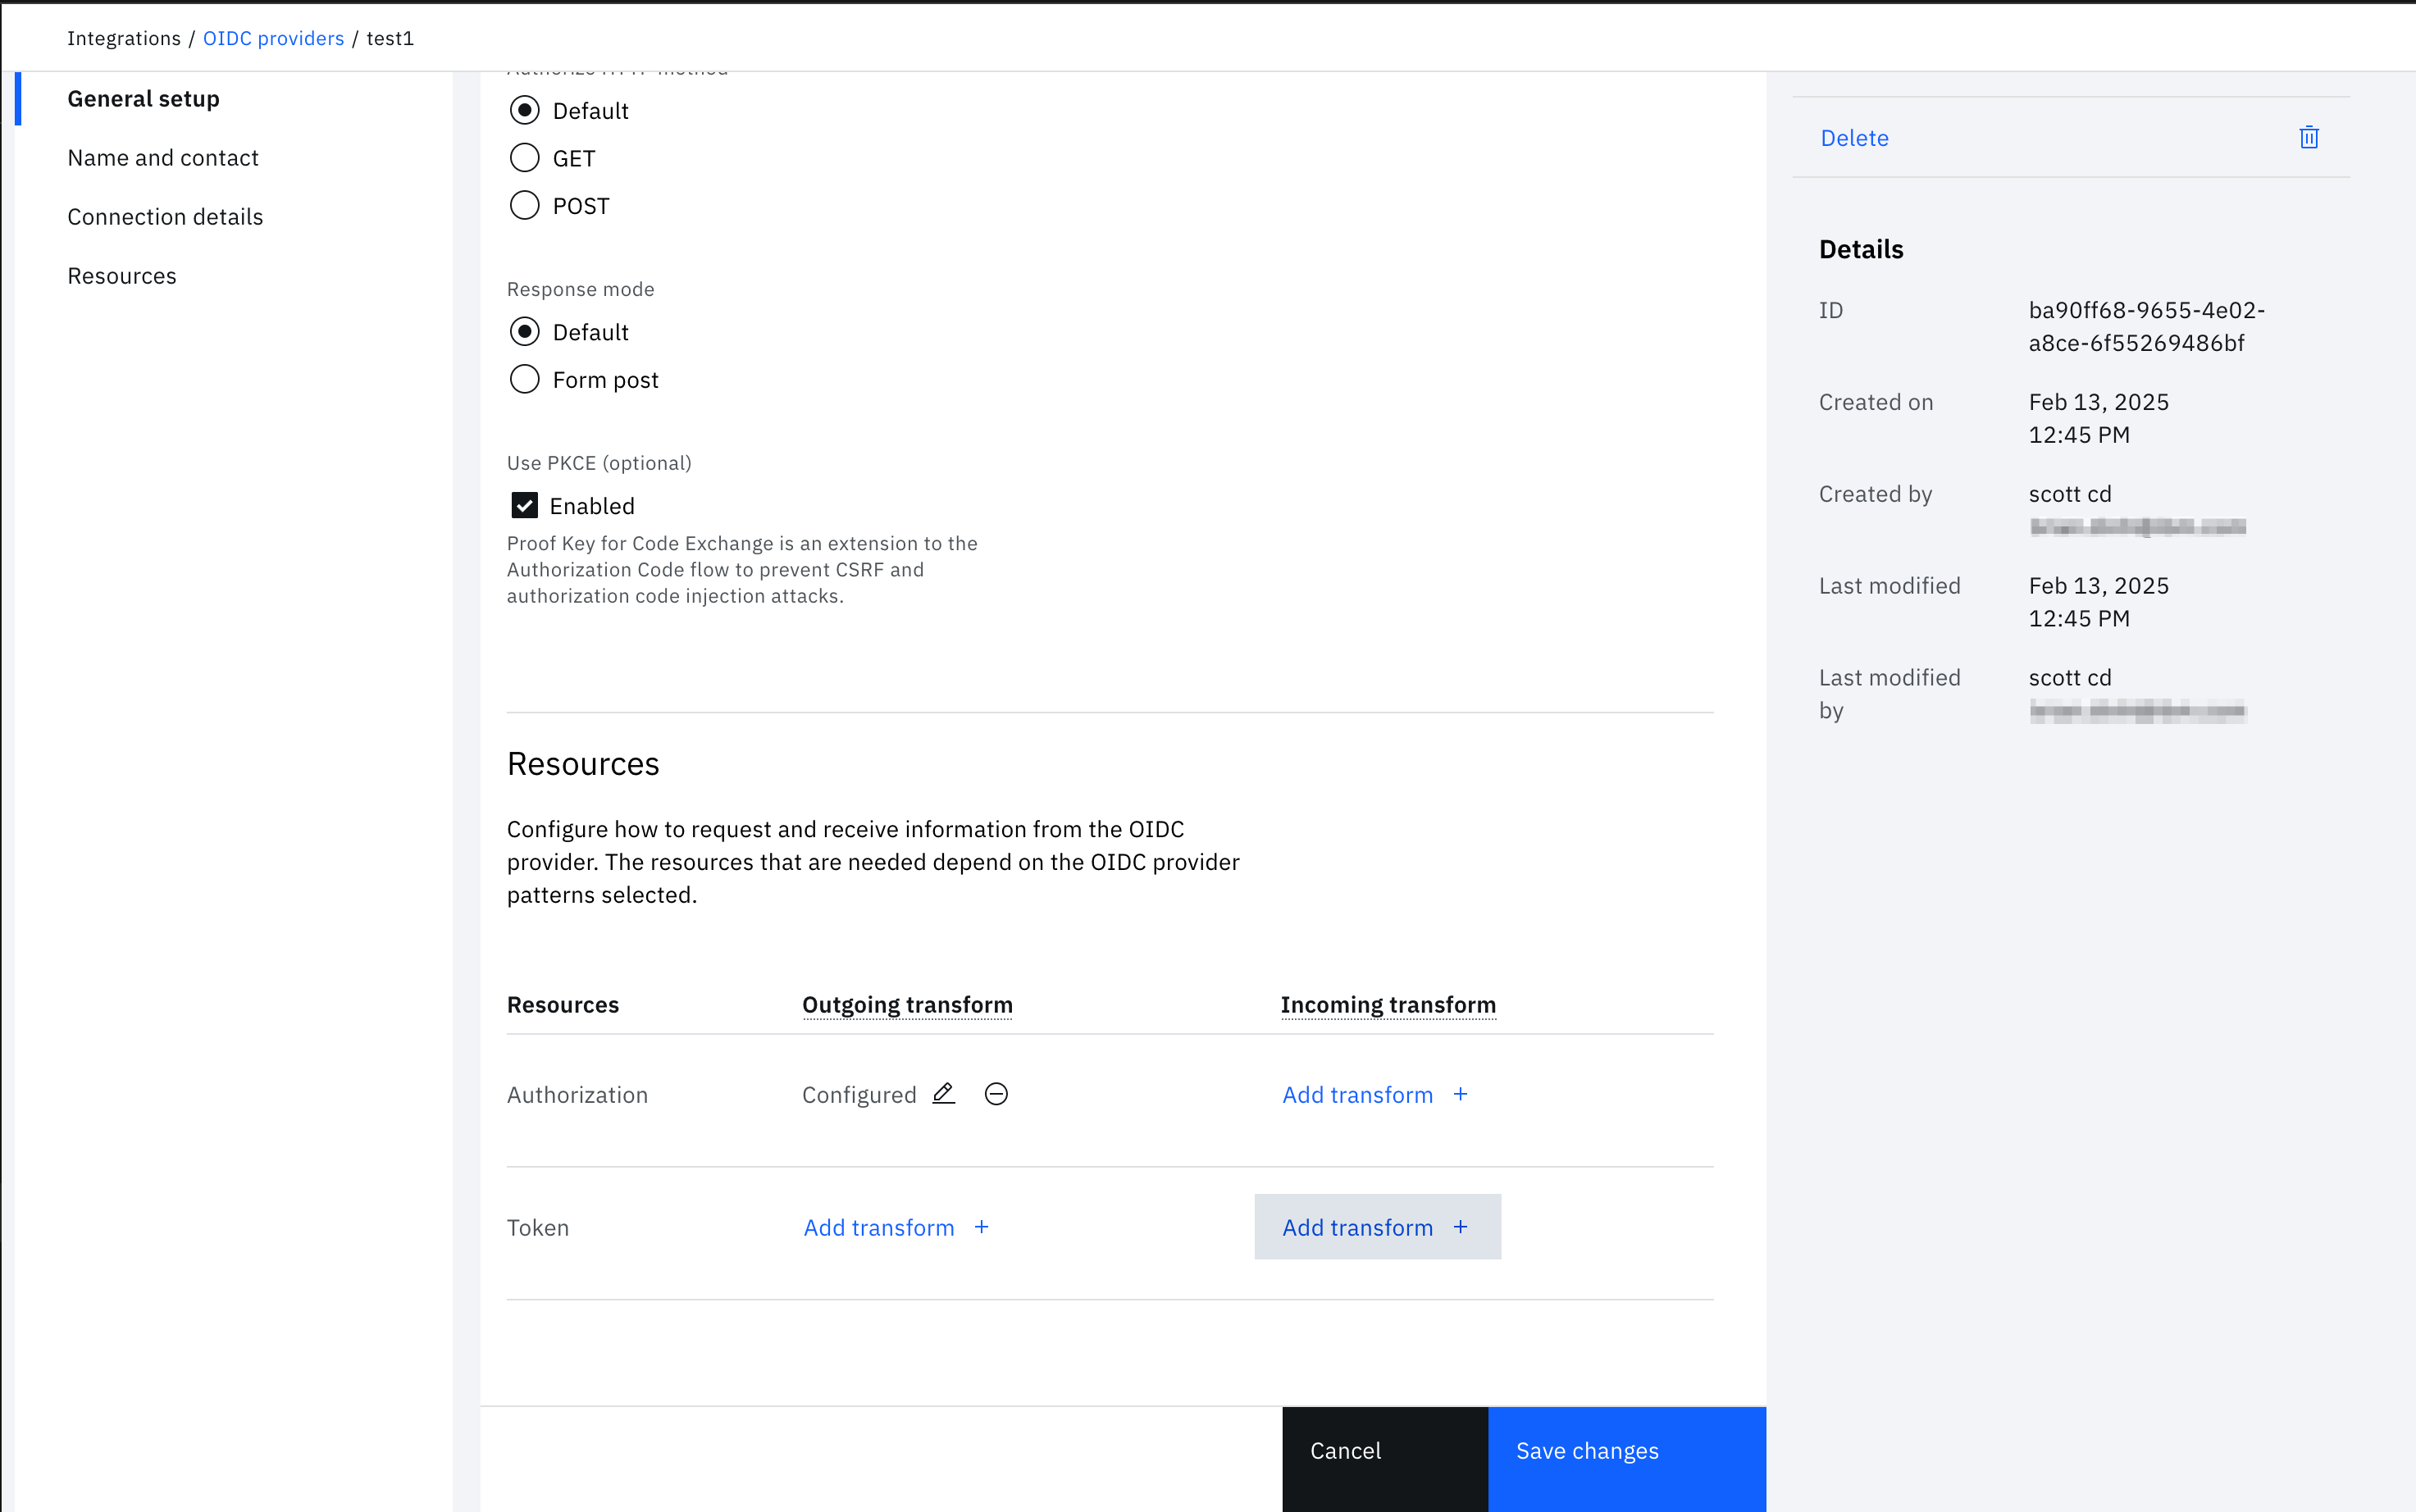
In the interface, the response attribute mapping can be configured that converts the incoming values from an identity proofing vendor to a compatible format for IBM Verify. Map the decision from the identity proofing flow by pulling the value from the expected vendor response. Allowed values are approve, deny, or obligate.
Token Incoming Transform Example:
statements:
  - context: decision := args.body.id_token.policyDecision
  - context: output := {}
  - context: attributes := {}
  - if:
      match: context.decision == "approve"
      block:
        - context: output = context.output.put('decision',context.decision)
  - if:
      match: context.decision == "obligate"
      block:
        - context: output = context.output.put('decision',context.decision)
  - context: output = context.output.put('attributes', context.attributes)
  - return: jsonToString(context.output)
Click Confirm to create the Authorization Outgoing Transformation. Click Save changes to finish editing the OIDC provider on the tenant.
Configure identity proofing flow
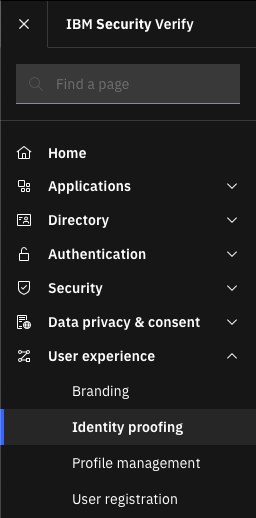
In the IBM Verify Admin UI, navigate to User experience and then click Identity proofing.
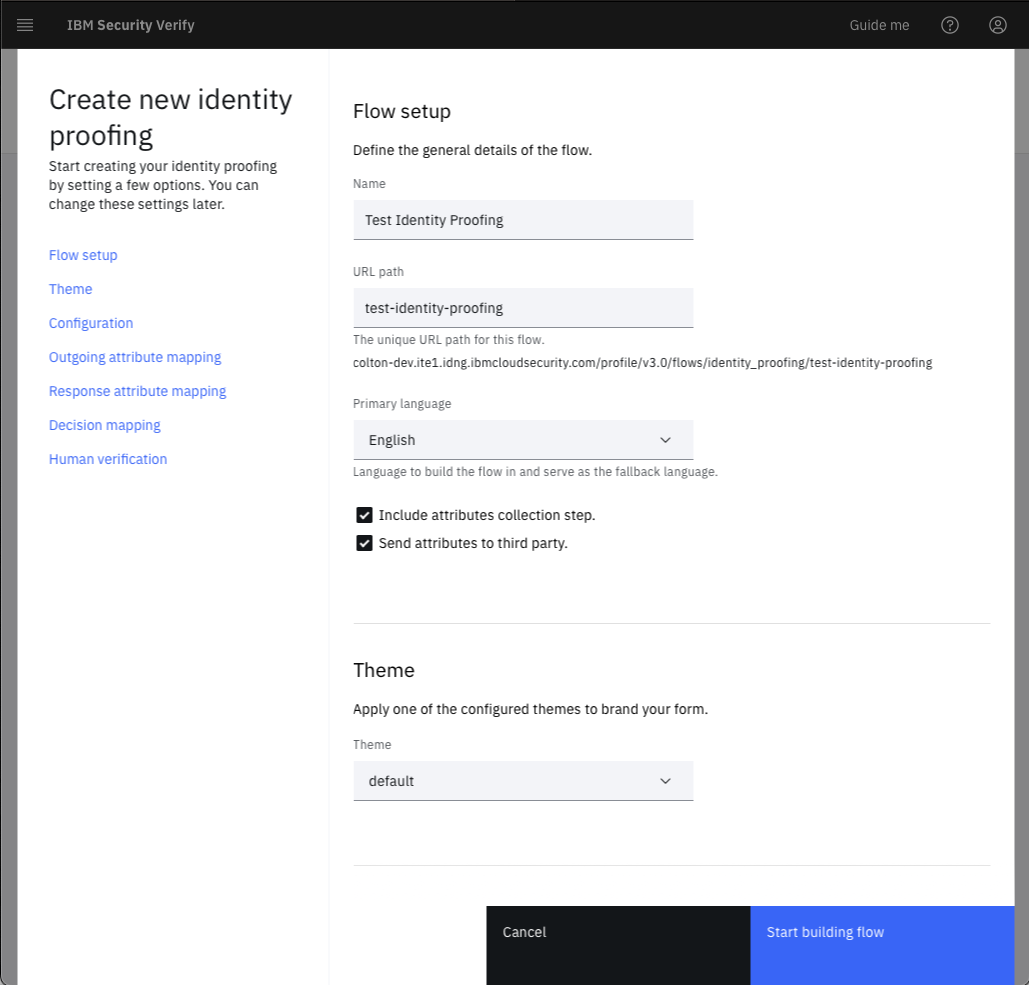
Click Create flow. In the configuration tile, enter a name for the flow in the Name field and optionally change the URL path. Set the Primary language. Enabling the setting Include attributes collection step adds a page to the identity proofing flow that will collect attributes. Enabling the setting Send attributes to third party takes attributes and sends them to the identity proofing vendor. Select the Theme that will be used for this flow.
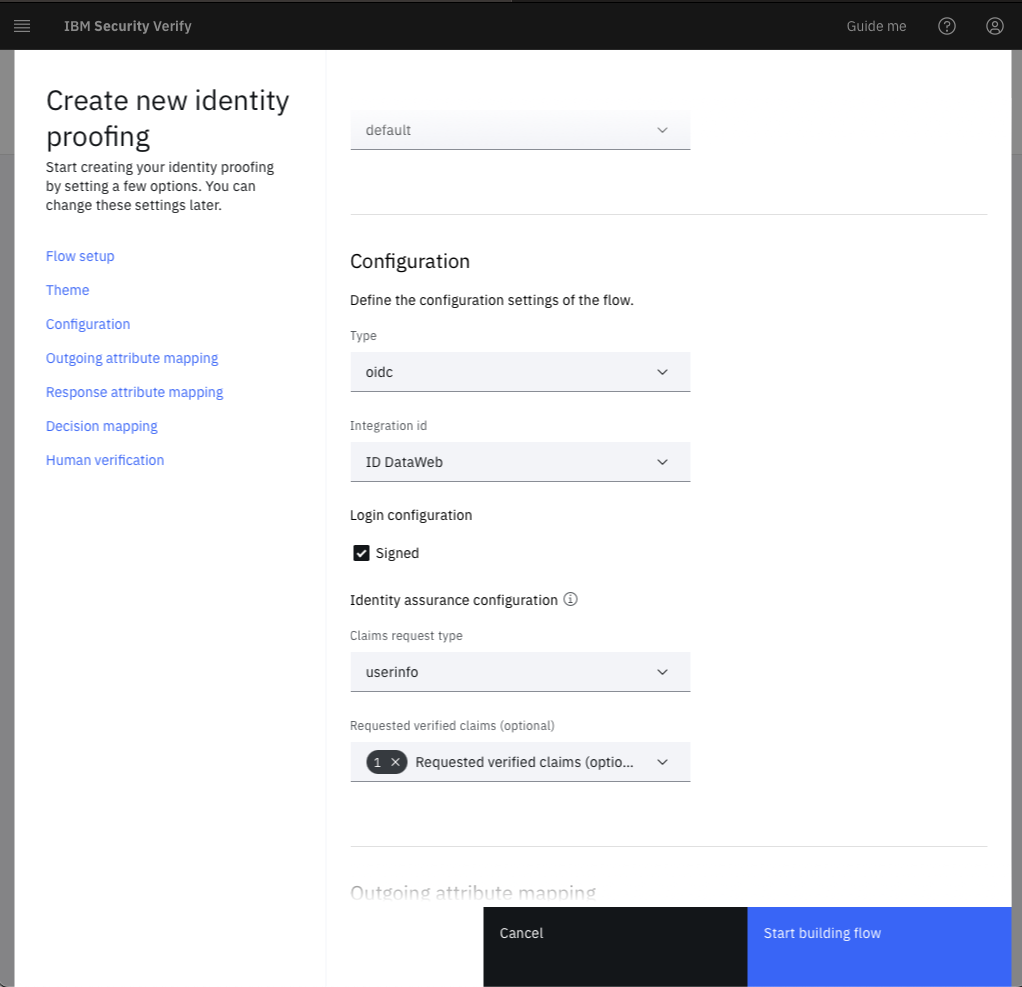
Scroll to the Configuration section. The Type will be oidc. The Integration id will be the OIDC provider that was created in the Configure OIDC provider section.
The final section is for Human verification, where you would optionally configure reCAPTCHA for the flow. Click Start building flow.
Now you can build the look and feel of the flow. You can add attributes for collection, change text, and translations at this time. Once you are done making modifications, save the flow by clicking Save changes, and then publish the flow by clicking Publish.
Before using this page, it needs to be integrated into a registration flow and the vendor needs to be aware of the redirect URL.
Register redirect url
This step will vary depending on your OIDC identity proofing vendor. In the vendors config, there will be a place to add valid redirect urls. In this you should add the url of the identity proofing flow you configured in the previous step.
Example: https://idproofing.verify.ibm.com/profile/v3.0/flows/identity_proofing/test-identity-proofing
Configure an application integration
In the application with which you want to integrate identity prooing, add an invocation to redirect to your identity proofing flow. This should include the callback_url query string parameter so that the flow knows where to come back to on completion.
For example
<Button href="https://idproofing.verify.ibm.com/profile/v3.0/flows/identity_proofing/identity-proofing-test?callback_url=https%3A%2F%2Fapp.example.com%2F%23%2Fidentity-proofing-response" type="button">Prove Identity</Button>
This will kick off the flow, but you will need to configure your server to make a request to the results API on return. Have your server call the below API:
"https://idproofing.verify.ibm.com/profile/v3.0/flows/identity_proofing/identity-proofing-test/results/" + resultsId;
The results ID will be a query string parameter that is returned from calling the identity proofing flow.
The response will have three parts based on the Verify scripted rules that were written for the Response attribute mapping.
{
    "decision": "approve",
    "vendorResponse": {
        // raw vendor response here
    },
    "processedAttributeMapping": {
        // Verify scripted rules transformed vendor response
    }
}
Depending on the vendor and Verify scripted rules transform, you may want to process different data in your application. The top level decision from the Verify scripted rules Decision mapping is also displayed for quick processing.
Try it out
Give this a shot by going to the registration url that you configured in the previous step.
Example: https://idproofing.verify.ibm.com/register/register-and-prove-identity
Start at the registration page.
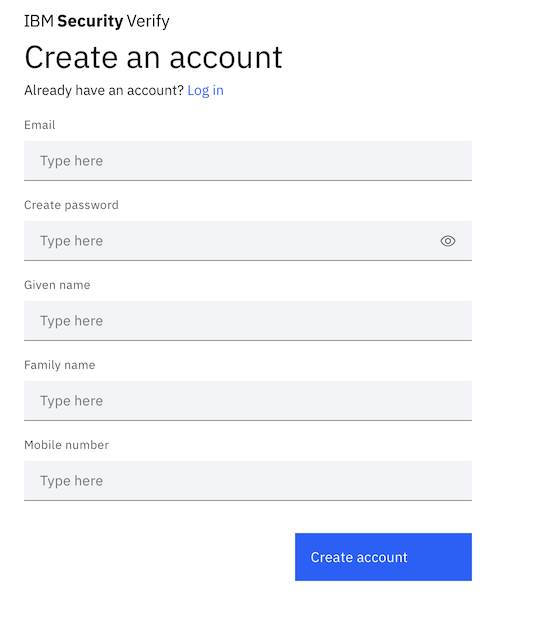
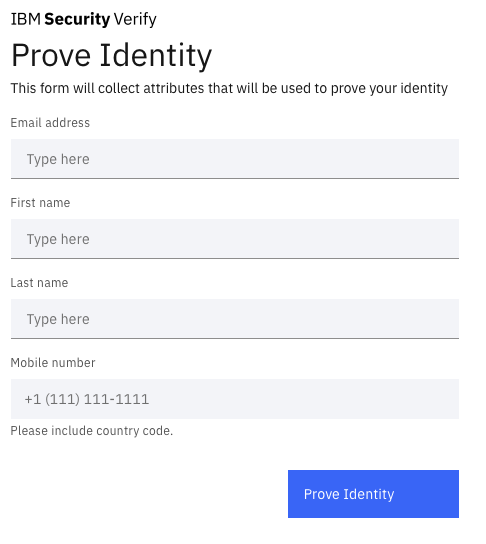
Which will direct you to the identity proofing page.
Which will redirect you to a page informing you that you are going to be sent to a third party for identity proofing.
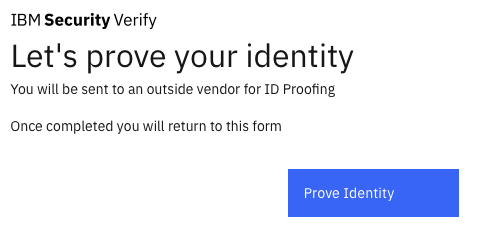
Complete the steps on the identity proofing vendor where you will be redirected back to IBM Verify and can continue with the registration process.
Updated 12 months ago
