Managing templates
Use themes if possible
Unless you are already using the template APIs for branding, it is recommended that you use themes API instead. Themes use an easier to navigate package structure and can also be used to set application-specific branding. Check out themes here.
Introduction
In this guide you will learn how to export the branding template package, manipulate the templates, re-package the template files, and import the updated branding template package.
The IBM Verify REST API must be used to export and import the template package. This guide shows how to use curl for the required API calls, as it is cross-platform, but you could also use an API program like Postman, which provides a GUI for manipulating API calls.
Pre-requisites
You will need to get an access token that is authorized to manage templates. The easiest way to do this is to create an API client with the Manage Templates entitlement and then run the Client Credentials grant type flow to get an access token.
You will need the curl command-line utility. This is built into most Linux systems and MacOS. However, if you can also Download curl here.
Variables
In this guide the following variables are used:
| Name | Example value | Description |
|---|---|---|
| tenant_url | tenant.verify.ibm.com | The URL of your IBM Verify tenant. |
| access_token | iZ5Gfz66HsNYSoJxhVe7N3u6cdBCHFYWgDOCAsNF | The access token obtained from your tenant's token service that has the Manage templates permission. |
You should set these variables on the command line like this:
export tenant_url=tenant.verify.ibm.com
export access_token=iZ5Gfz66HsNYSoJxhVe7N3u6cdBCHFYWgDOCAsNF
Getting the branding package
The branding package is a zip file containing all the templates for your tenant. This is obtained by making a simple API call using either curl or the Postman utility. Make the following API call to download the branding package. It is important to run this command every time you make a change to get the most up-to-date templates.
curl -X GET https://${tenant_url}/v1.0/branding/download \
  -H "Authorization: Bearer ${access_token}" \
  -o branding.zip
This will download a file called branding.zip to the current directory.
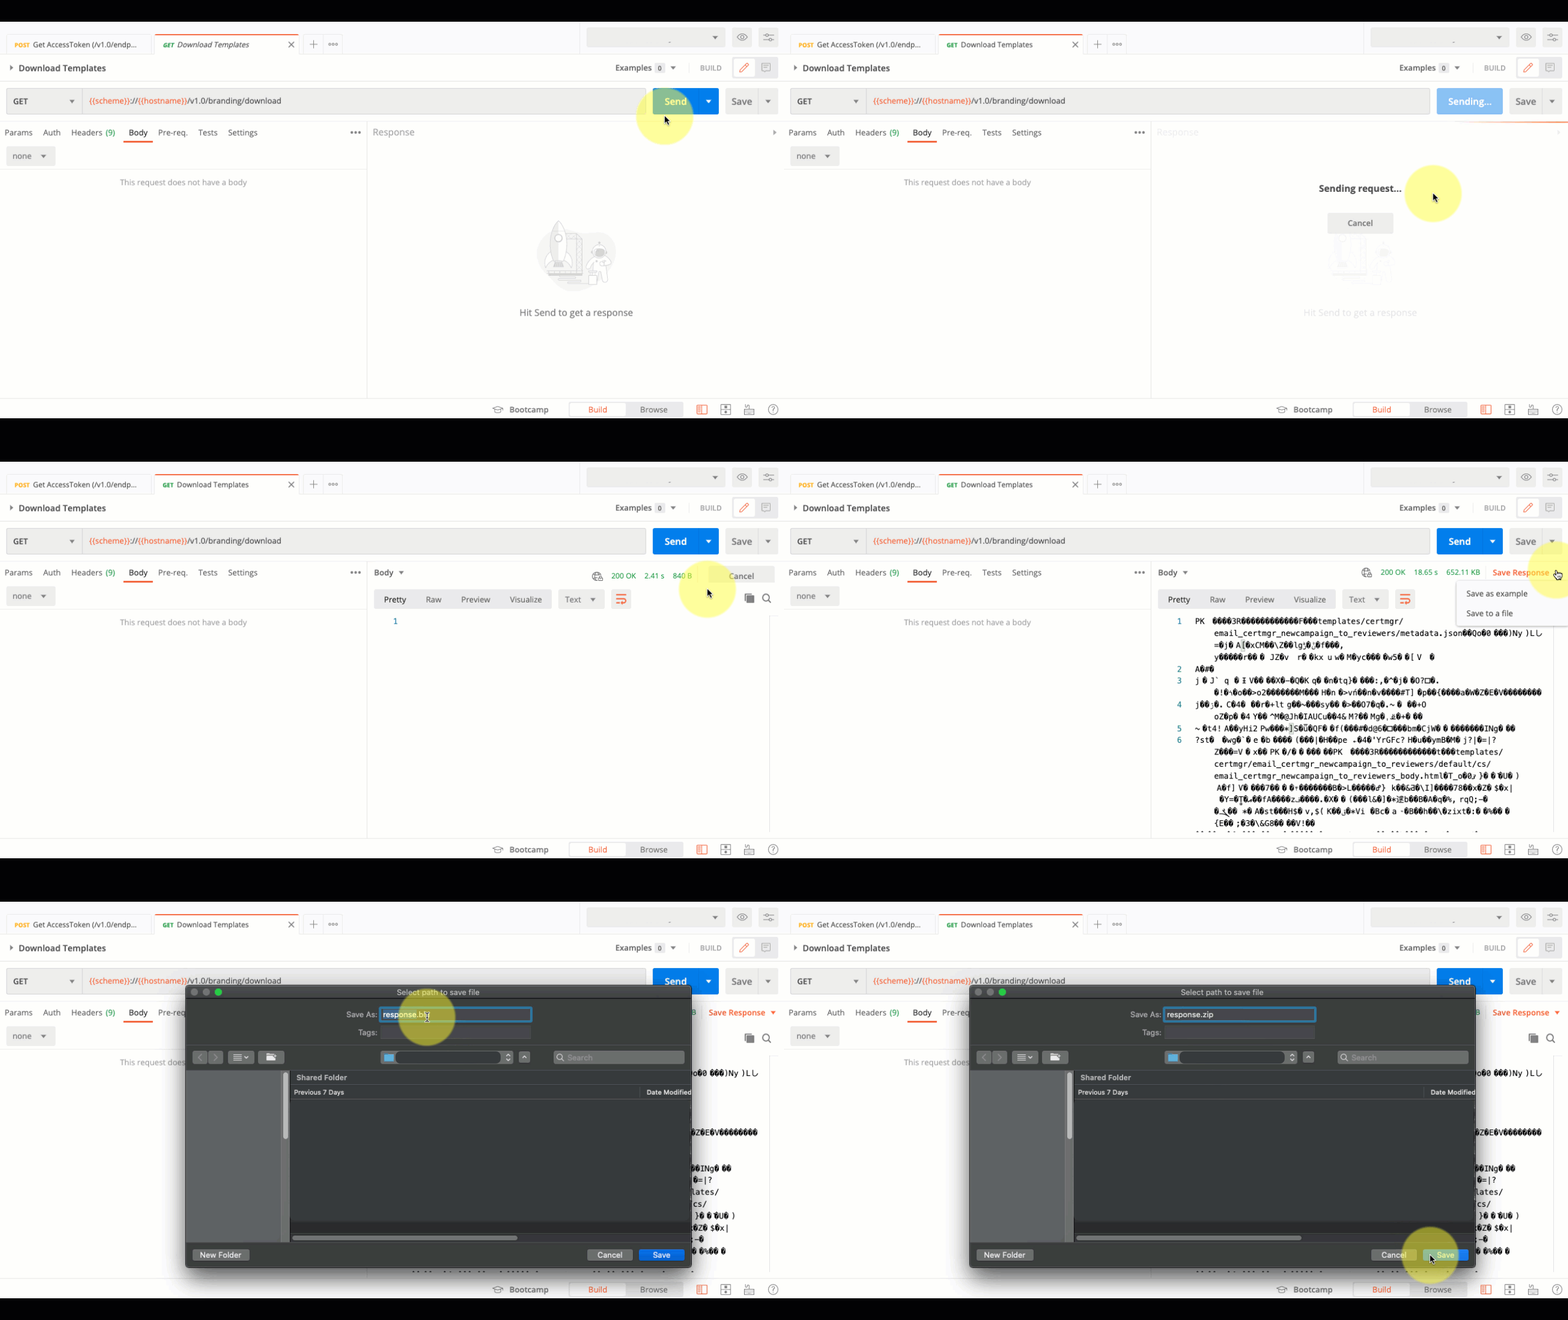
If using Postman, you can choose the directory and filename when you save the response:

Using Postman to download the branding ZIP files
Unzip the downloaded branding.zip file to access the individual template pages. A single directory named templates is created when the zip file is extracted.
Common templates
The common folder in the branding package contains a set of overarching files that are included in every end user page. This includes a set of text keys, logo files, header / footer HTML files, and a common CSS overrides file. By modifying the files in the common folder, you can apply style changes globally without the need to edit every individual page. With that said, you still have that ability if fine-tuned branding is necessary.

Header / footer / logo / styles
The structure in the common folder includes the following sub-folders that allow for override of their respective elements:
| Folder name | Contents | Description |
|---|---|---|
| branding_footer | footer.html | Appended to all runtime HTML pages. By default this page includes the IBM trademark & copyright messages. |
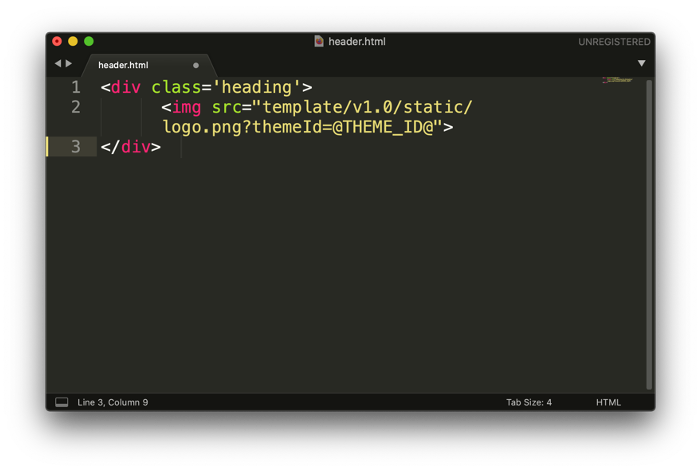
| branding_header | header.html | Prepended to all runtime HTML pages. By default, this page only includes the logo.svg file. |
| branding_logo_svg & branding_logo_png | logo.svg logo.png | Image files that replace the logo of the user pages. |
| branding_theme_css | theme.css | This CSS file is included on all template pages. It will override classes that share the same name in the HTML of the pages because it is included last. |
Template labels
Inside the ./label_translations folder, there are files called template-labels.properties. These properties files live within the language code folders that IBM Verify supports. The template files follow the following format:
$VARIABLE$=Message
The key / value pairs included in each file have been translated for you and will automatically present themselves in the browser's locale (if configured, otherwise the default is used which is English). Replace the values of any label and it will get picked up after you zip and post the files back to Verify.
New template labels are supported
Additional new attributes can be added to template pages by creating a new key / value pair in the template file
Templates and Themes
In the directory structure of the template package you will see that within each content folder there is a default folder. This corresponds to the default theme. If a theme defines customized files for the content folder will also see a folder named for the theme ID (a random UUID) at this level.
Note: within the theme folder there will be one or more language folders and the default language folder also has the name default. This can be a little confusing but remember that the folder structure is like this:
templates
  <component>
    <asset>
      metadata.json
      <theme>
        <language>
          content
You cannot create new themes using the templates API but you can add/modify/delete files associated with existing themes by modifying the branding template package.
Handling languages
Verify supports a variety of languages in the platform that are pre-translated. However, other languages are supported by creating additional folders in the theme folder with the folder name corresponding with the browser language locale.
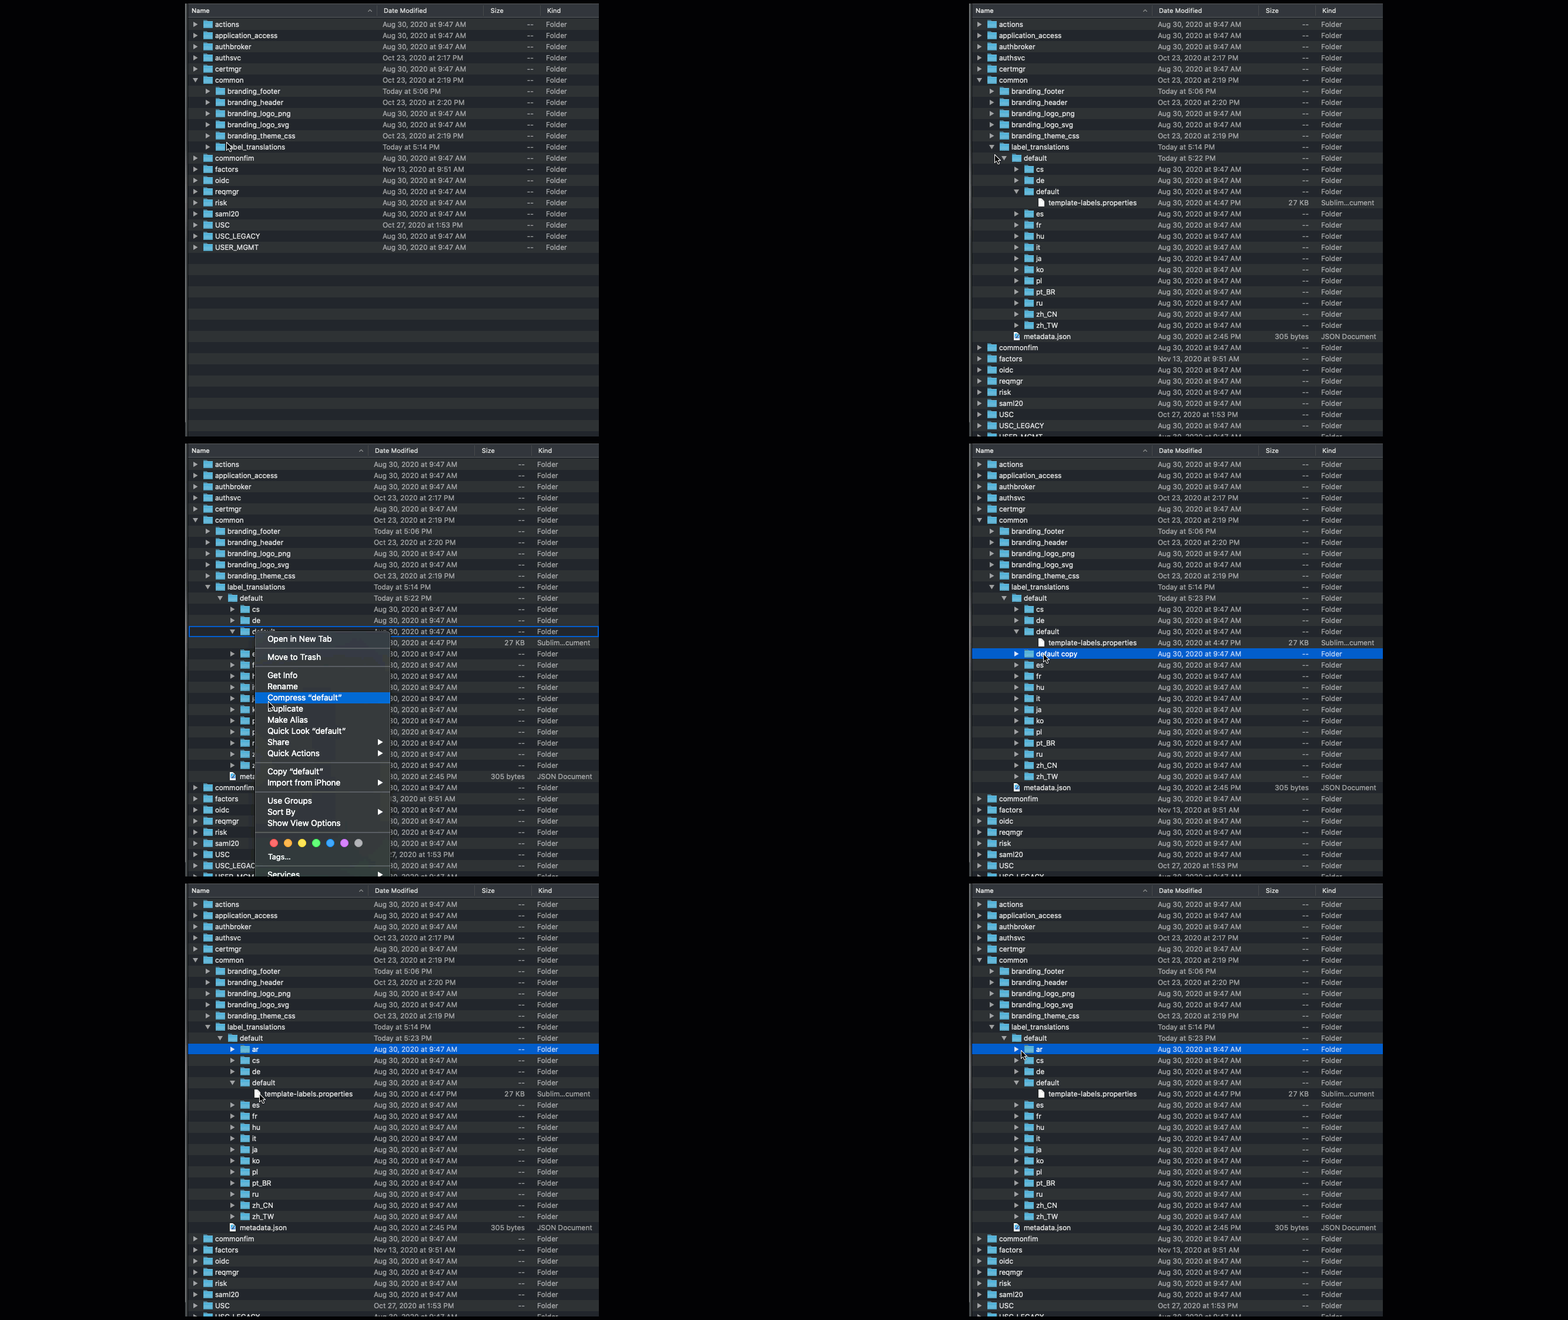
For example, currently Verify doesn't support Arabic as a language out of the box, but a company wishing to add an Arabic translation of the default theme can perform the following actions:
- Open the
label_translations/defaultfolder - Duplicate any existing language folder
- Rename the folder to the desired language locale
- Edit the file and update the label text

Handling multi-language in IBM Verify's branding and customization capabilities.
This will be inherited by Verify when the browser's locale matches the language code in the template.
Publishing new templates
Once you have made the required changes to the files in the extracted templates folder, you can apply the changes by re-packaging and uploading as follows:
- Zip (compress) the
templatesparent folder (the created archive must include the templates folder) - With the same access token you used before (or a get a new one if it has expired), make the following API call to upload the updated zip file that you just created:
curl -X POST https://${tenant_url}/v1.0/branding/upload \
-H "Authorization: Bearer ${access_token}" \
-H 'Content-Type: application/x-www-form-urlencoded' \
-F 'file=@"/path/to/file/updated-branding.zip"'
You should expect a 201 Created response if all checks out. The templates will be immediately live in production. If you don't see your template live, then either the upload failed, or your browser has cached the older templates. Try a private browser without cache in order to test accurately.
Reset branding back to default
Whether you made a mistake or want to start over, it's good to understand how to get back to the Verify default templates. The following API request will reset the branding template package.
Reseting the branding template package has the effect of deleting all themes and reseting the default theme back to its original state. Before you use this API, all applications must be configured to use the default theme. This API will return an error if any theme is in use.
This API will delete all template and theme content
Make sure you have a local copy of any customized files you might want to use again later.
Also make you have exported any themes that you might want to restore later.
curl --location --request DELETE https://${tenant_url}/v1.0/branding/reset \
--header "Authorization: Bearer ${access_token}"
Updated 7 months ago
