Simplified identifier-first authentication using themes
Introduction
For use cases where organizations have multiple identity providers integrated to IBM Verify, the ability to present a simplified user experience is critical and necessary. Users logging in don’t know which identity provider (IdP) they belong to and therefore do not know which one to select – instead, individuals only know their username and/or email and corresponding password.
When organizations have multiple IDPs, the desired experience is to have only a single login page with username and/or email field. Based on the username and/or email provided, the appropriate login page must be presented to the individual.
Considerations
It is recommended that if Identifier-first experience is desired to be enabled, the following criteria should be met to ensure clean implementation and reduction of impacted individual experience.
- The organization implementing Identifier-first has control of the identity sources being implemented.
- Identities do not span across multiple identity sources (for instance, [email protected]_ exists in identity source 1 and not in any other identity source. [email protected]_ should not exist in identity source 1 and identity source 2).
Pre-requisites
- IBM Verify SaaS tenant
- Understanding of Verify Themes and branding
- Basic to intermediate knowledge of JavaScript (code samples provided below)
- At least two identity providers enabled (ex: Cloud Directory, OIDC enterprise, SAML enterprise, Active Directory, and/or LDAP)
Configuring Verify
- Enable the desired identity providers in the IBM Verify SaaS tenant
- Download the themes file that hosts the login themes page that will require JavaScript customization
- Customize the login page with JavaScript and HTML
- Re-upload the updated login themes page in IBM Verify SaaS
Enable the desired identity providers in the IBM Verify SaaS tenant
The purpose of this activity is to ensure the identity providers desired to be logged in by individuals are enabled. For the value of this scenario to work, at least two identity providers must be configured and enabled.
-
(needed only if one identity provider is enabled): Create an identity provider can help you create the necessary identity providers that IBM Verify SaaS can use. In addition, IBM Verify SaaS provides a native cloud directory.
-
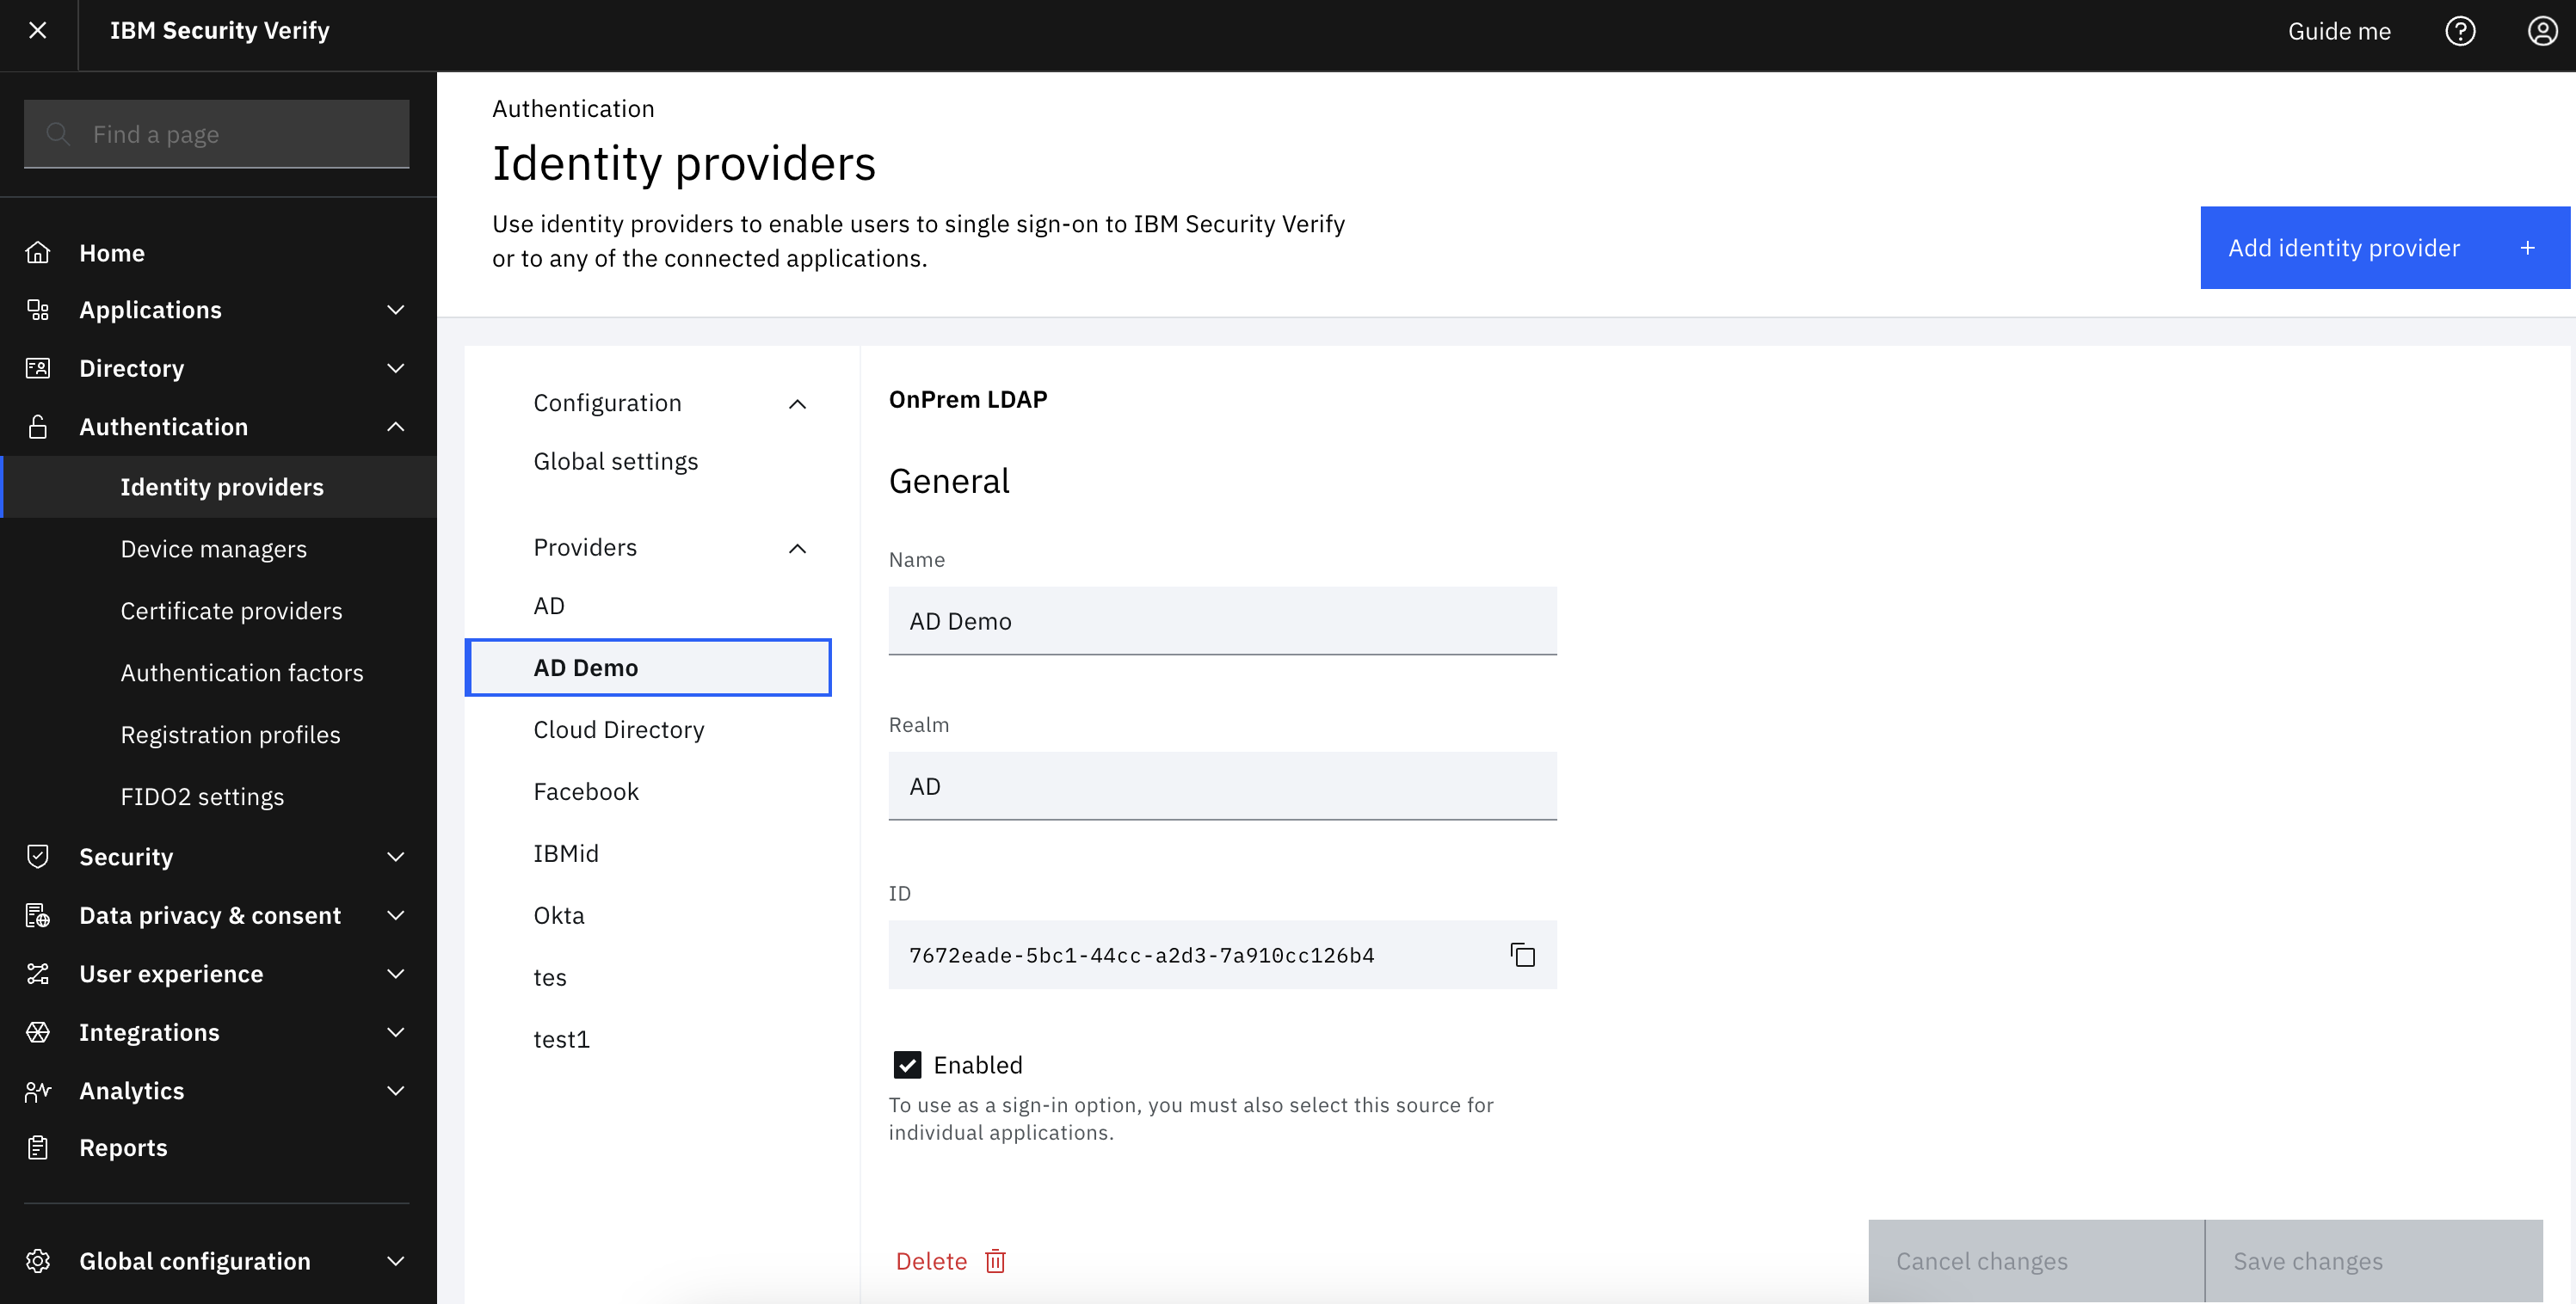
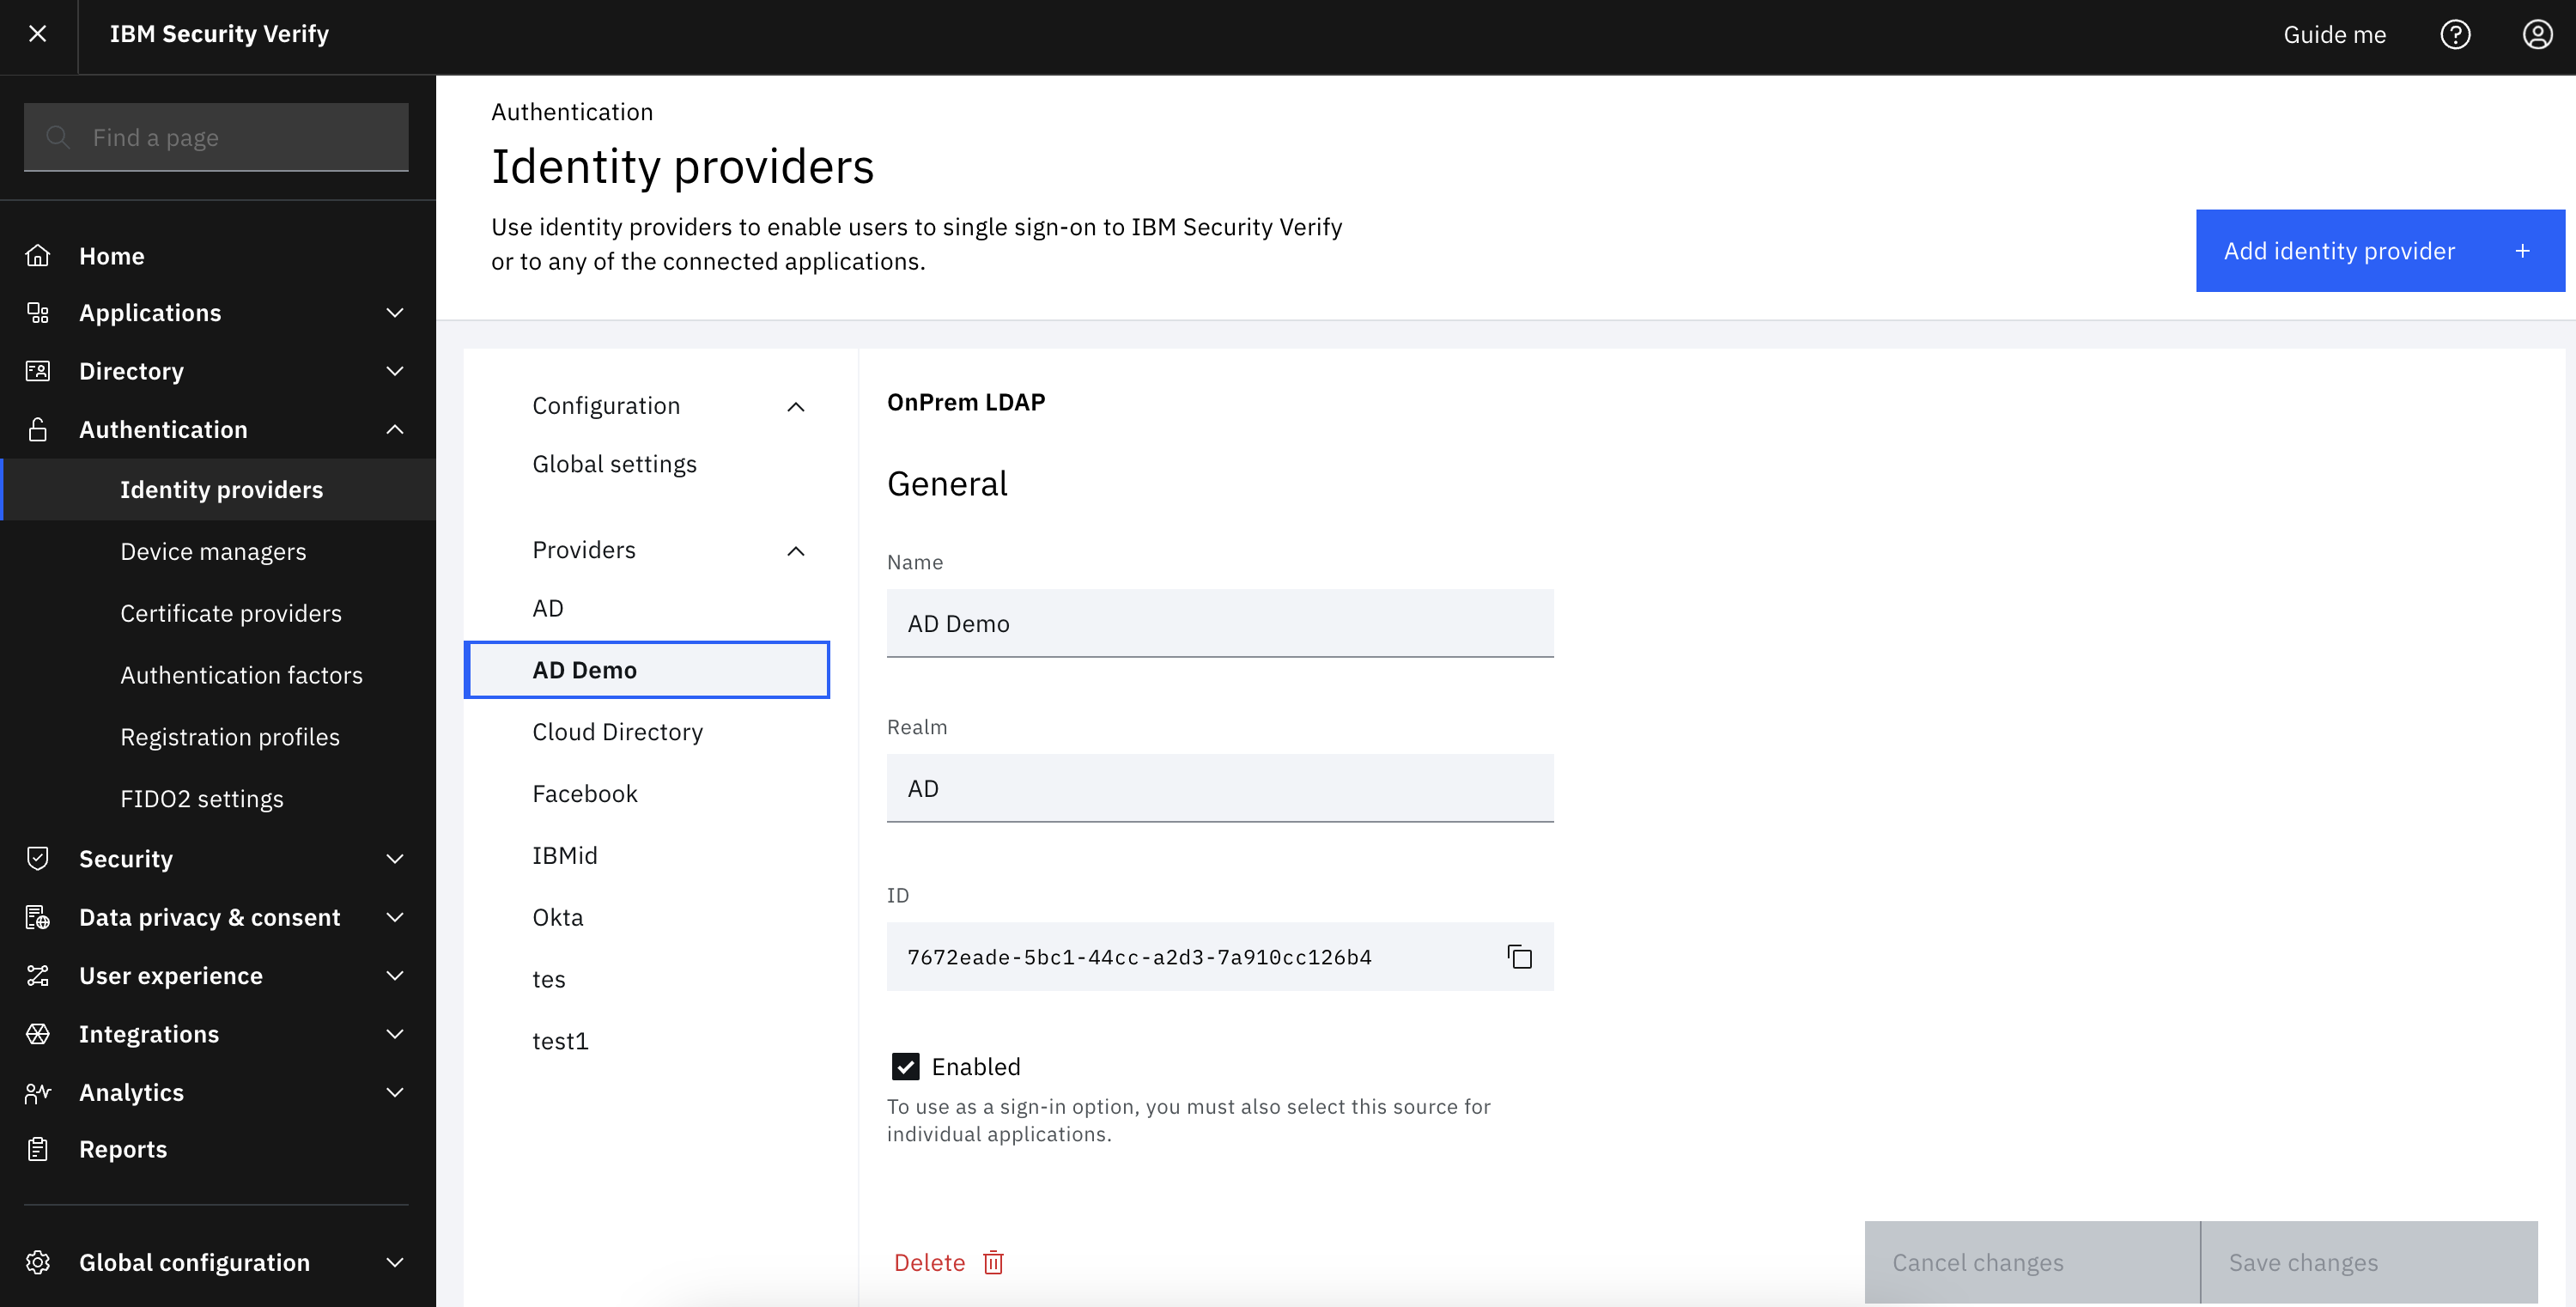
Once an identity provider is created, you can determine which identity providers are enabled by going to the configuration below within “Authentication -> Identity providers”.
-
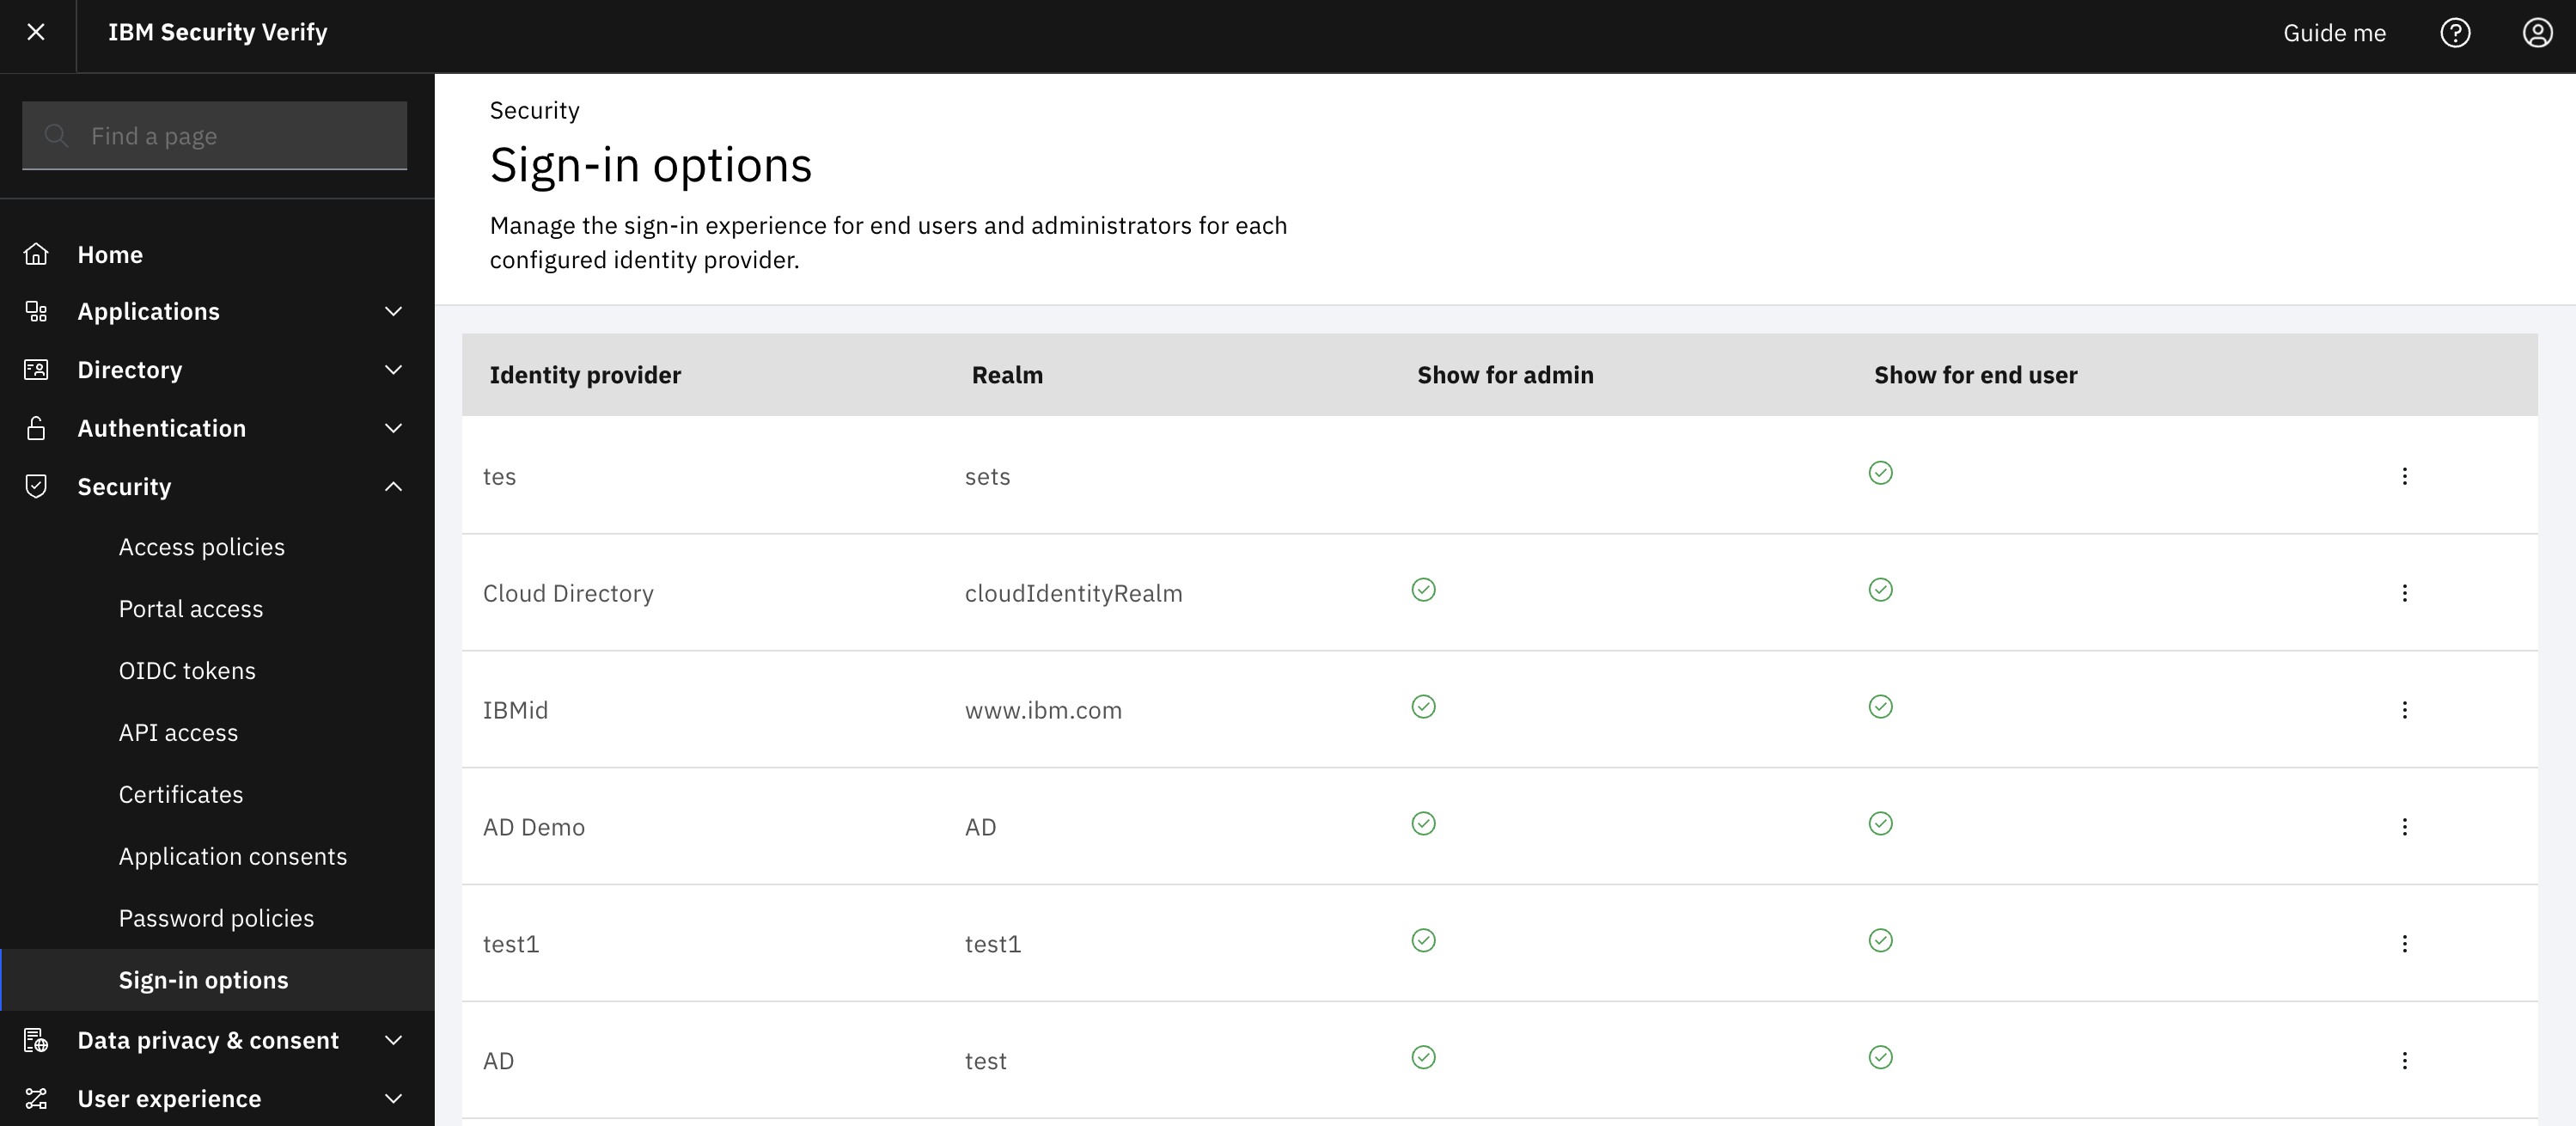
Ensure that not only is the identity provider enabled, but also configured as a sign in option for end users. To do that, navigate to “Security -> Sign in options”. The desired identity providers must be enabled to “Show for end user”.
Download the themes file that hosts the login themes page that will require JavaScript customization
The purpose of this activity is to download the login theme page that will be altered with the JavaScript code to deliver the Identifier-first experience. It is critical that the identity providers desired to be supported as part of the Identifier-first experience are enabled prior to downloading the login themes page and the identity providers not desired to be supported are disabled.
-
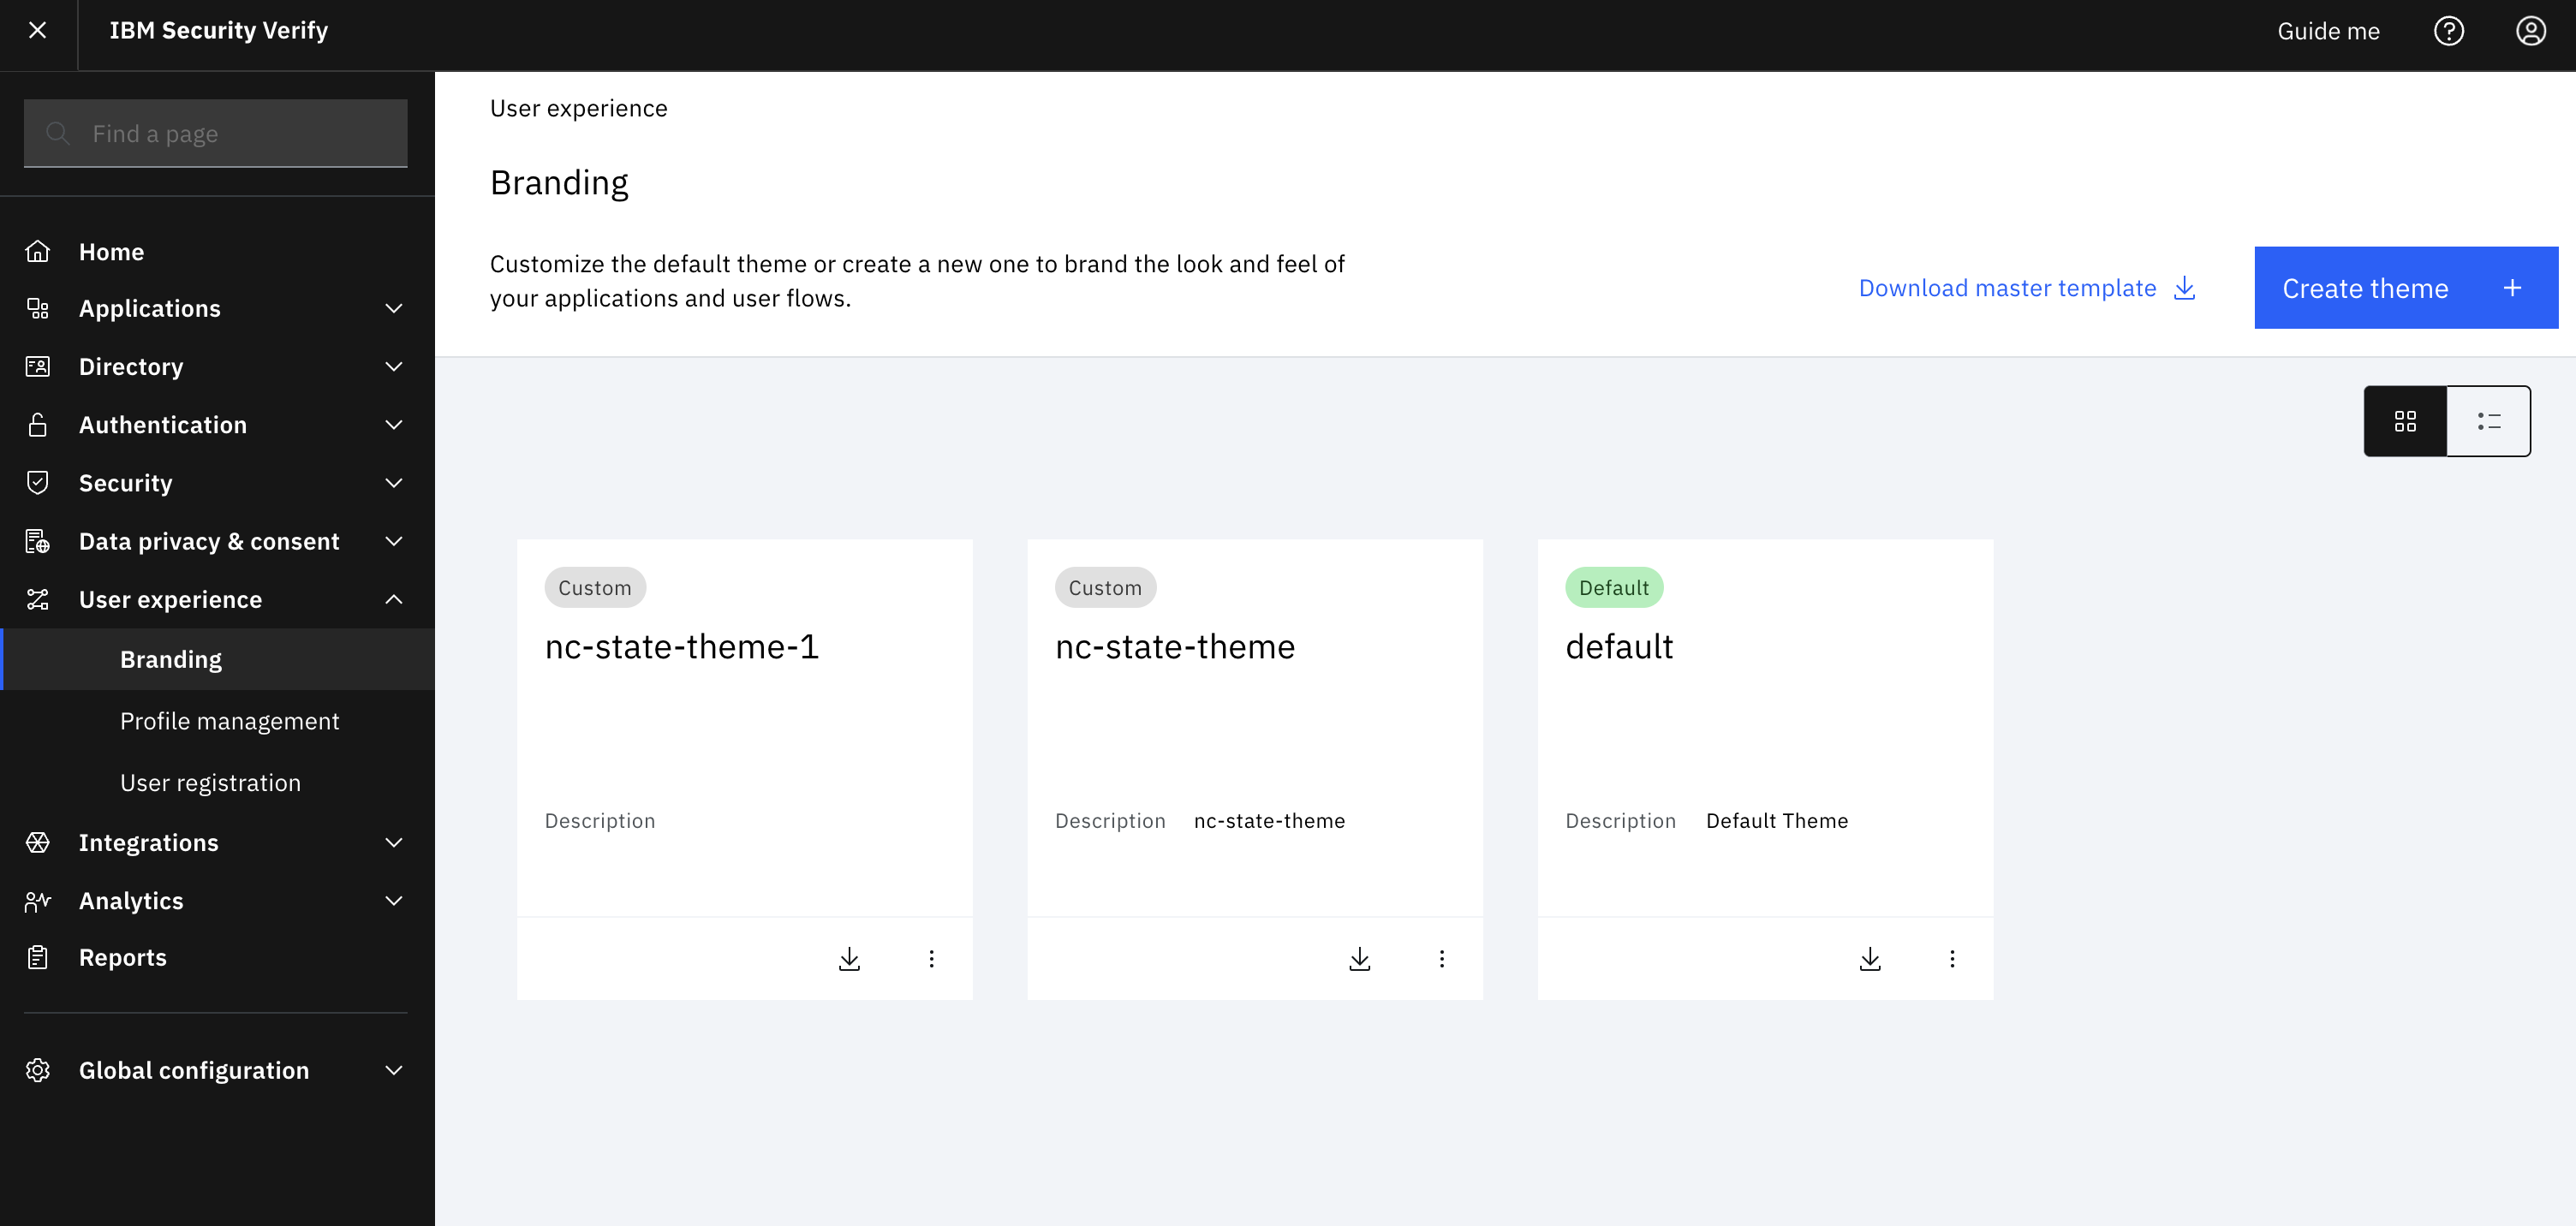
Navigate to “User experience -> branding” and select the branding tile that is used for your applications. “Default” will typically be the tile, but it will be the theme that will be used to deliver the branding experience to individuals.
-
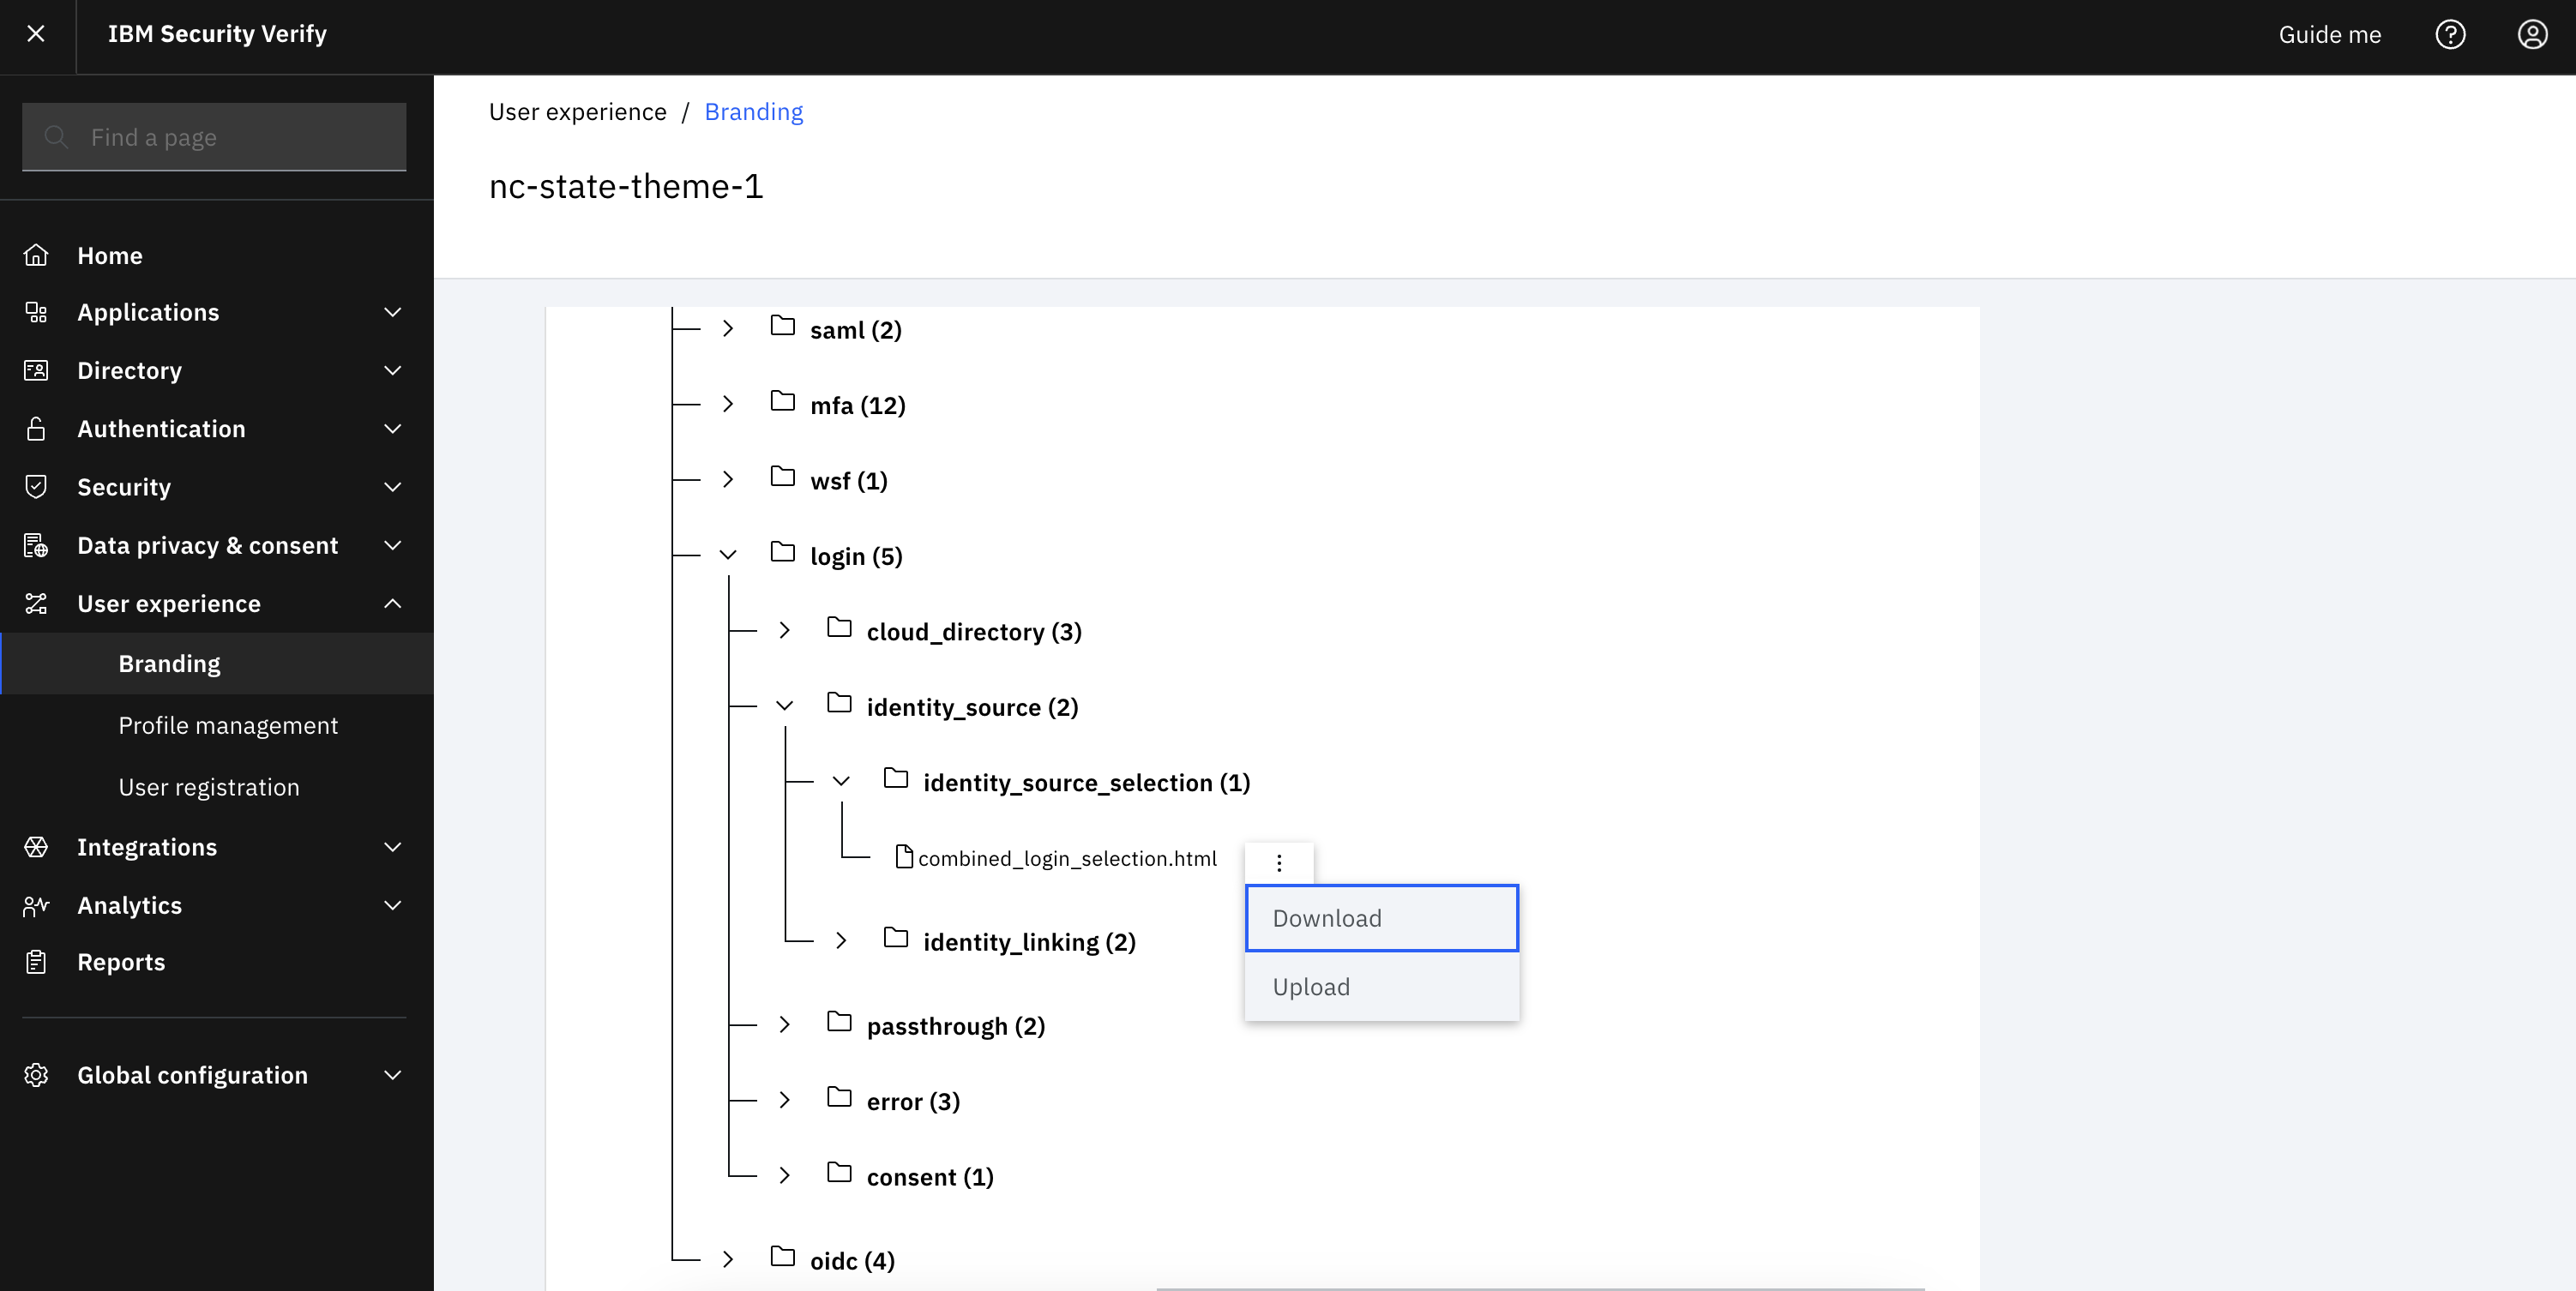
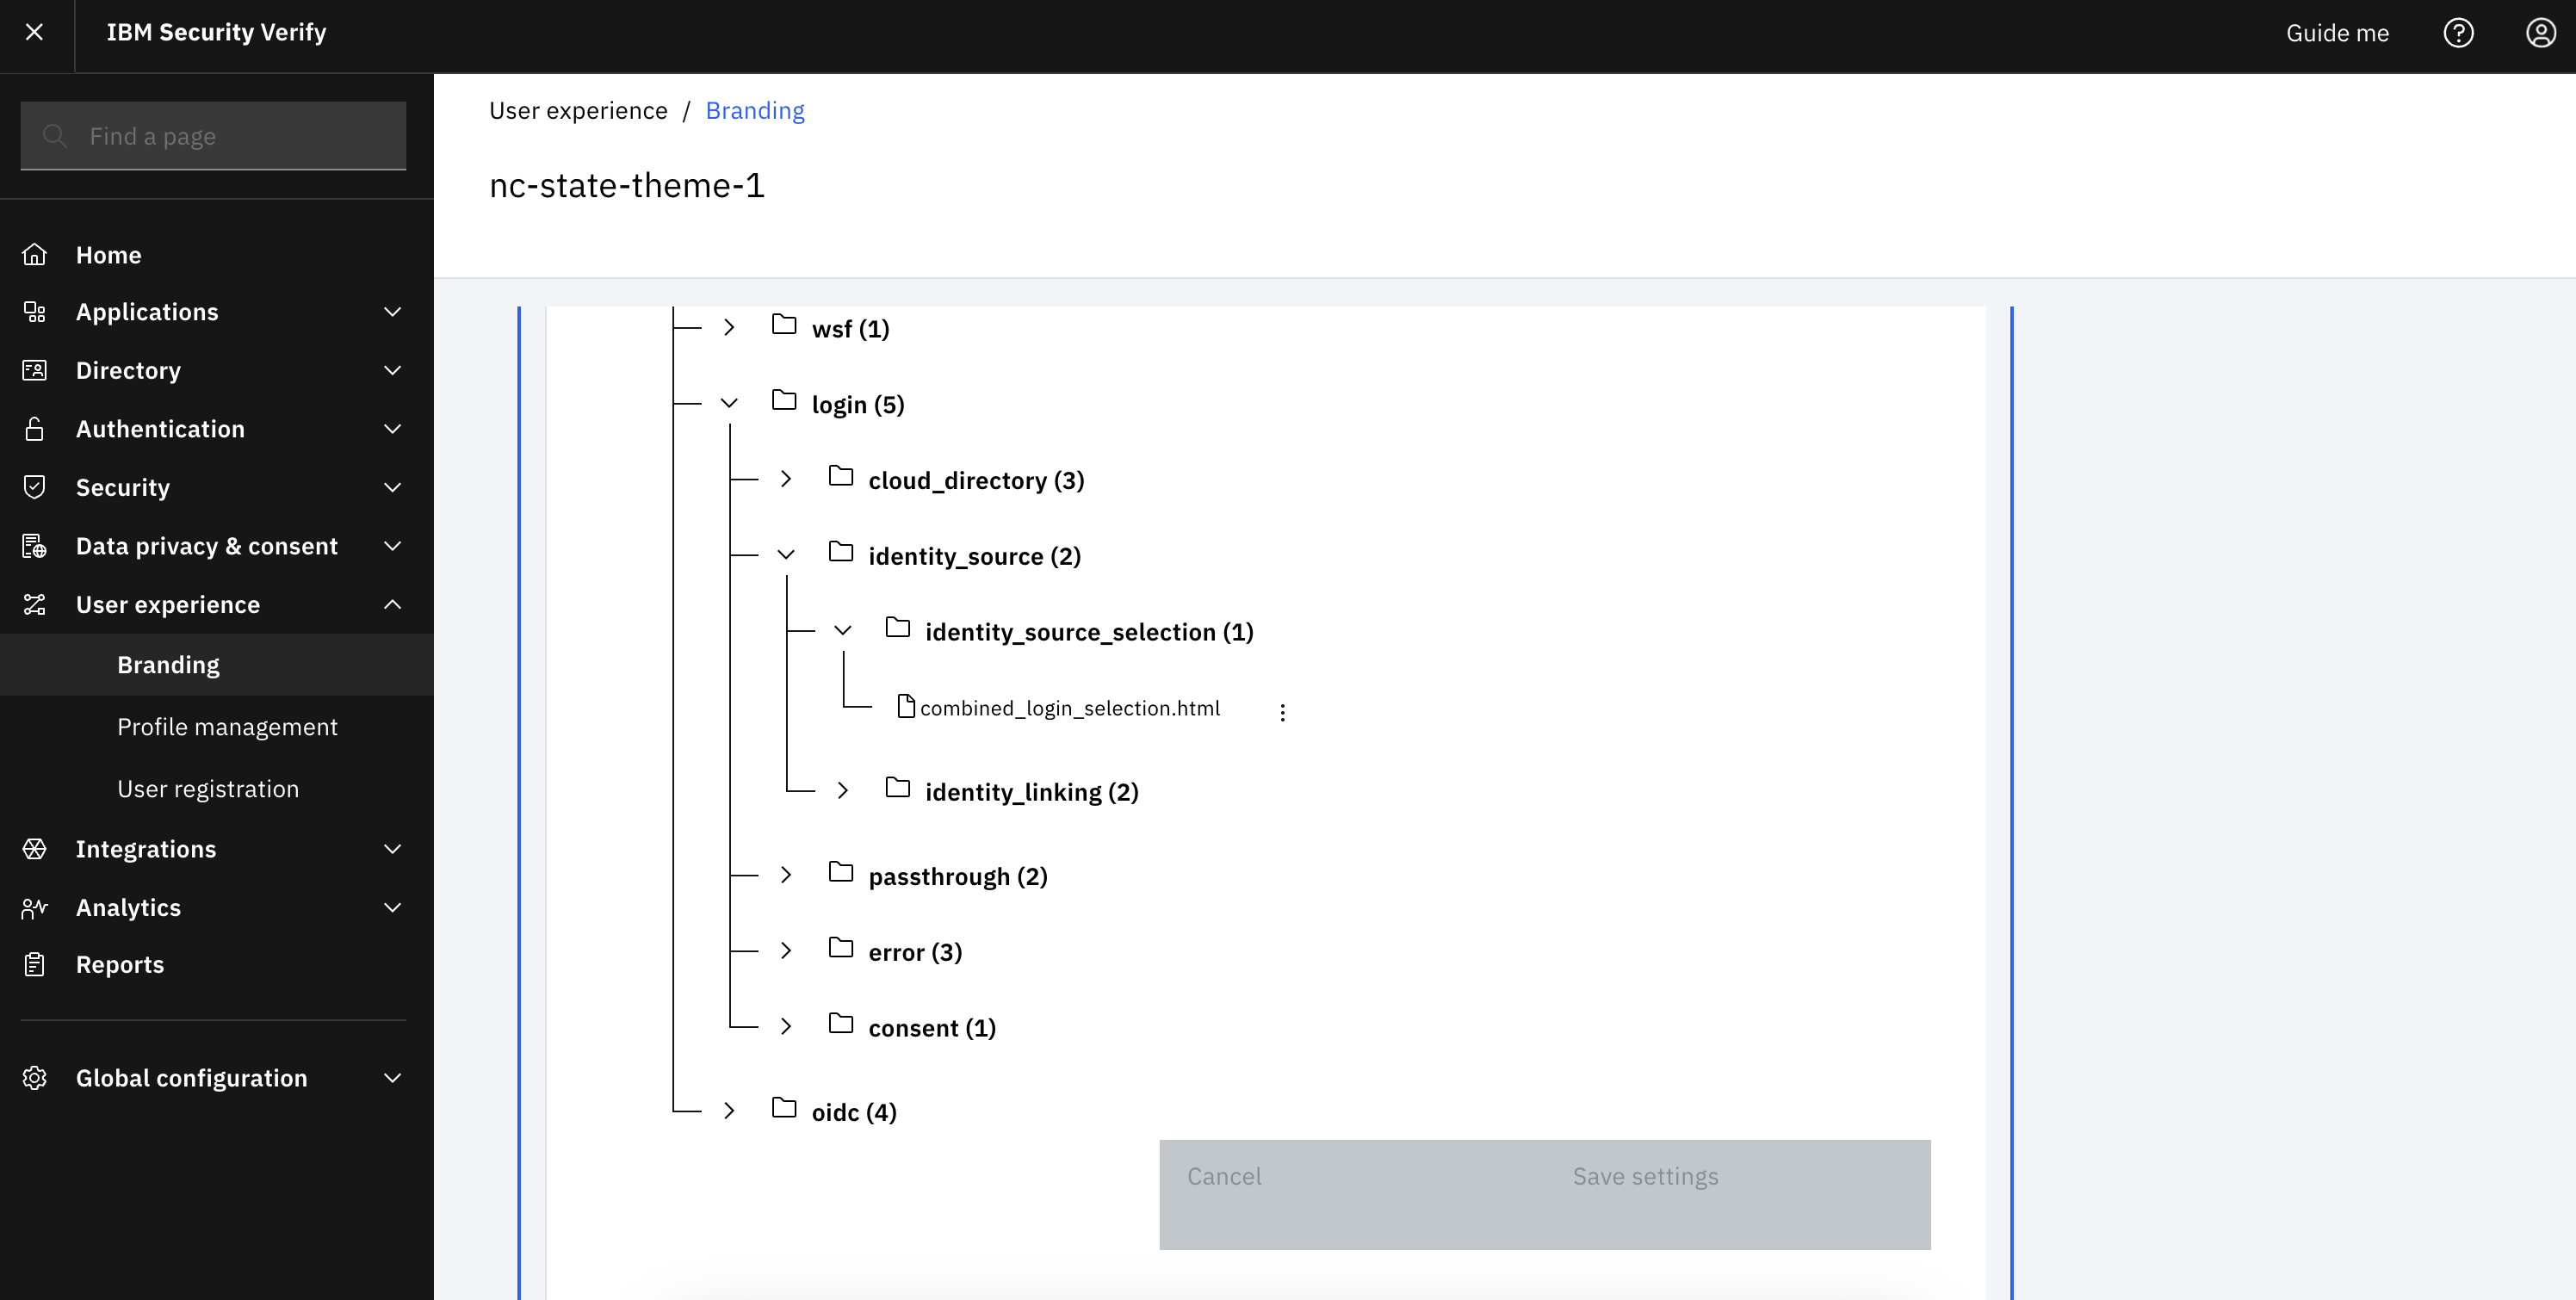
Go into the desired theme and navigate to “authentication -> login -> identity_source -> identity_source_selection -> combined_login_selection.html”. Download the template.
Customize the login page with JavaScript and HTML
The purpose of this activity is to write the corresponding JavaScript and HTML in the “combined_login_selection.html” page that was just downloaded. This will allow the ability to define the logic that is checked as individuals enter the username/email to redirect them to the corresponding identity provider login page.
-
Open the “combined_login_selection.html” in an editor that will allow you to update the page.
-
Reference the code below as a sample and make the necessary logic changes to the login page with the necessary conditions. Before
</head>, add the following snippet.```HTML <script> // Realm is available in the identity source configuration. Modify the script below to use the correct realm values. const emailDomainRealmMap = { "domain1.com": "login.domain1.com", "domain2.com": "login.domain2.com" }; // Default realm to use in the event that none of the domains match. const defaultRealm = "cloudIdentityRealm"; const defaultIDSource = idSources.find(e => e.realm == defaultRealm); // Gets the identity source object based on the realm provided function getIDSource(realm) { var idSource = idSources.find(e => e.realm == realm); if (!idSource) { idSource = defaultIDSource; } return idSource; } // Extracts the email domain from the username keyed in and kicks off authentication // by matching the identity source based on the realm. // NOTE: This script does not cater for sub-domains in the email and should be modified // as appropriate based on the logic that matches requirements. function kickoffLogin() { var email = document.getElementById("username").value; var domain = email.substring(email.lastIndexOf('@') + 1); var matchedRealm = emailDomainRealmMap[domain]; if (!matchedRealm || matchedRealm == "") { matchedRealm = defaultRealm; } idSource = getIDSource(matchedRealm); location.href = idSource.loginUrl; } </script> ```Some of the data in the script above will need to be modified to meet the configurations of your tenant. Use the comments in the script to determine the values that must be extracted from the tenant (such as the realms).
-
In the body of the page add the below HTML, right after the closing div of
@LOGIN_ERROR_MESSAGE@<br></br> <div> <form> Username: <input type="text" id="username" /> <button type="button" id="usernamebtn" onclick="kickoffLogin()" disabled>Submit</button> </form> </div> </br> </br> <div hidden> -
Add
</div>above@PAGE_FOOTER@ -
Add the following script before
</body>.<script> // Logic to simulate button click if user hits Enter vs Clicks on button // Get the input field var input = document.getElementById("username"); // Execute a function when the user presses a key on the keyboard input.addEventListener("keypress", function(event) { // If the user presses the "Enter" key on the keyboard if (event.key === "Enter") { // Cancel the default action, if needed event.preventDefault(); // Trigger the button element with a click document.getElementById("usernamebtn").click(); } }); // Logic to disable the button until text is entered const textField = document.getElementById("username"); const submitButton = document.getElementById("usernamebtn"); textField.addEventListener("input", () => { if (textField.value.length > 0) { submitButton.removeAttribute("disabled"); } else { submitButton.setAttribute("disabled", true); } }); </script>
Upload the customized page
The purpose of this activity is to upload the login theme page updates back into Verify SaaS to experience the Identifier-first login flows.
-
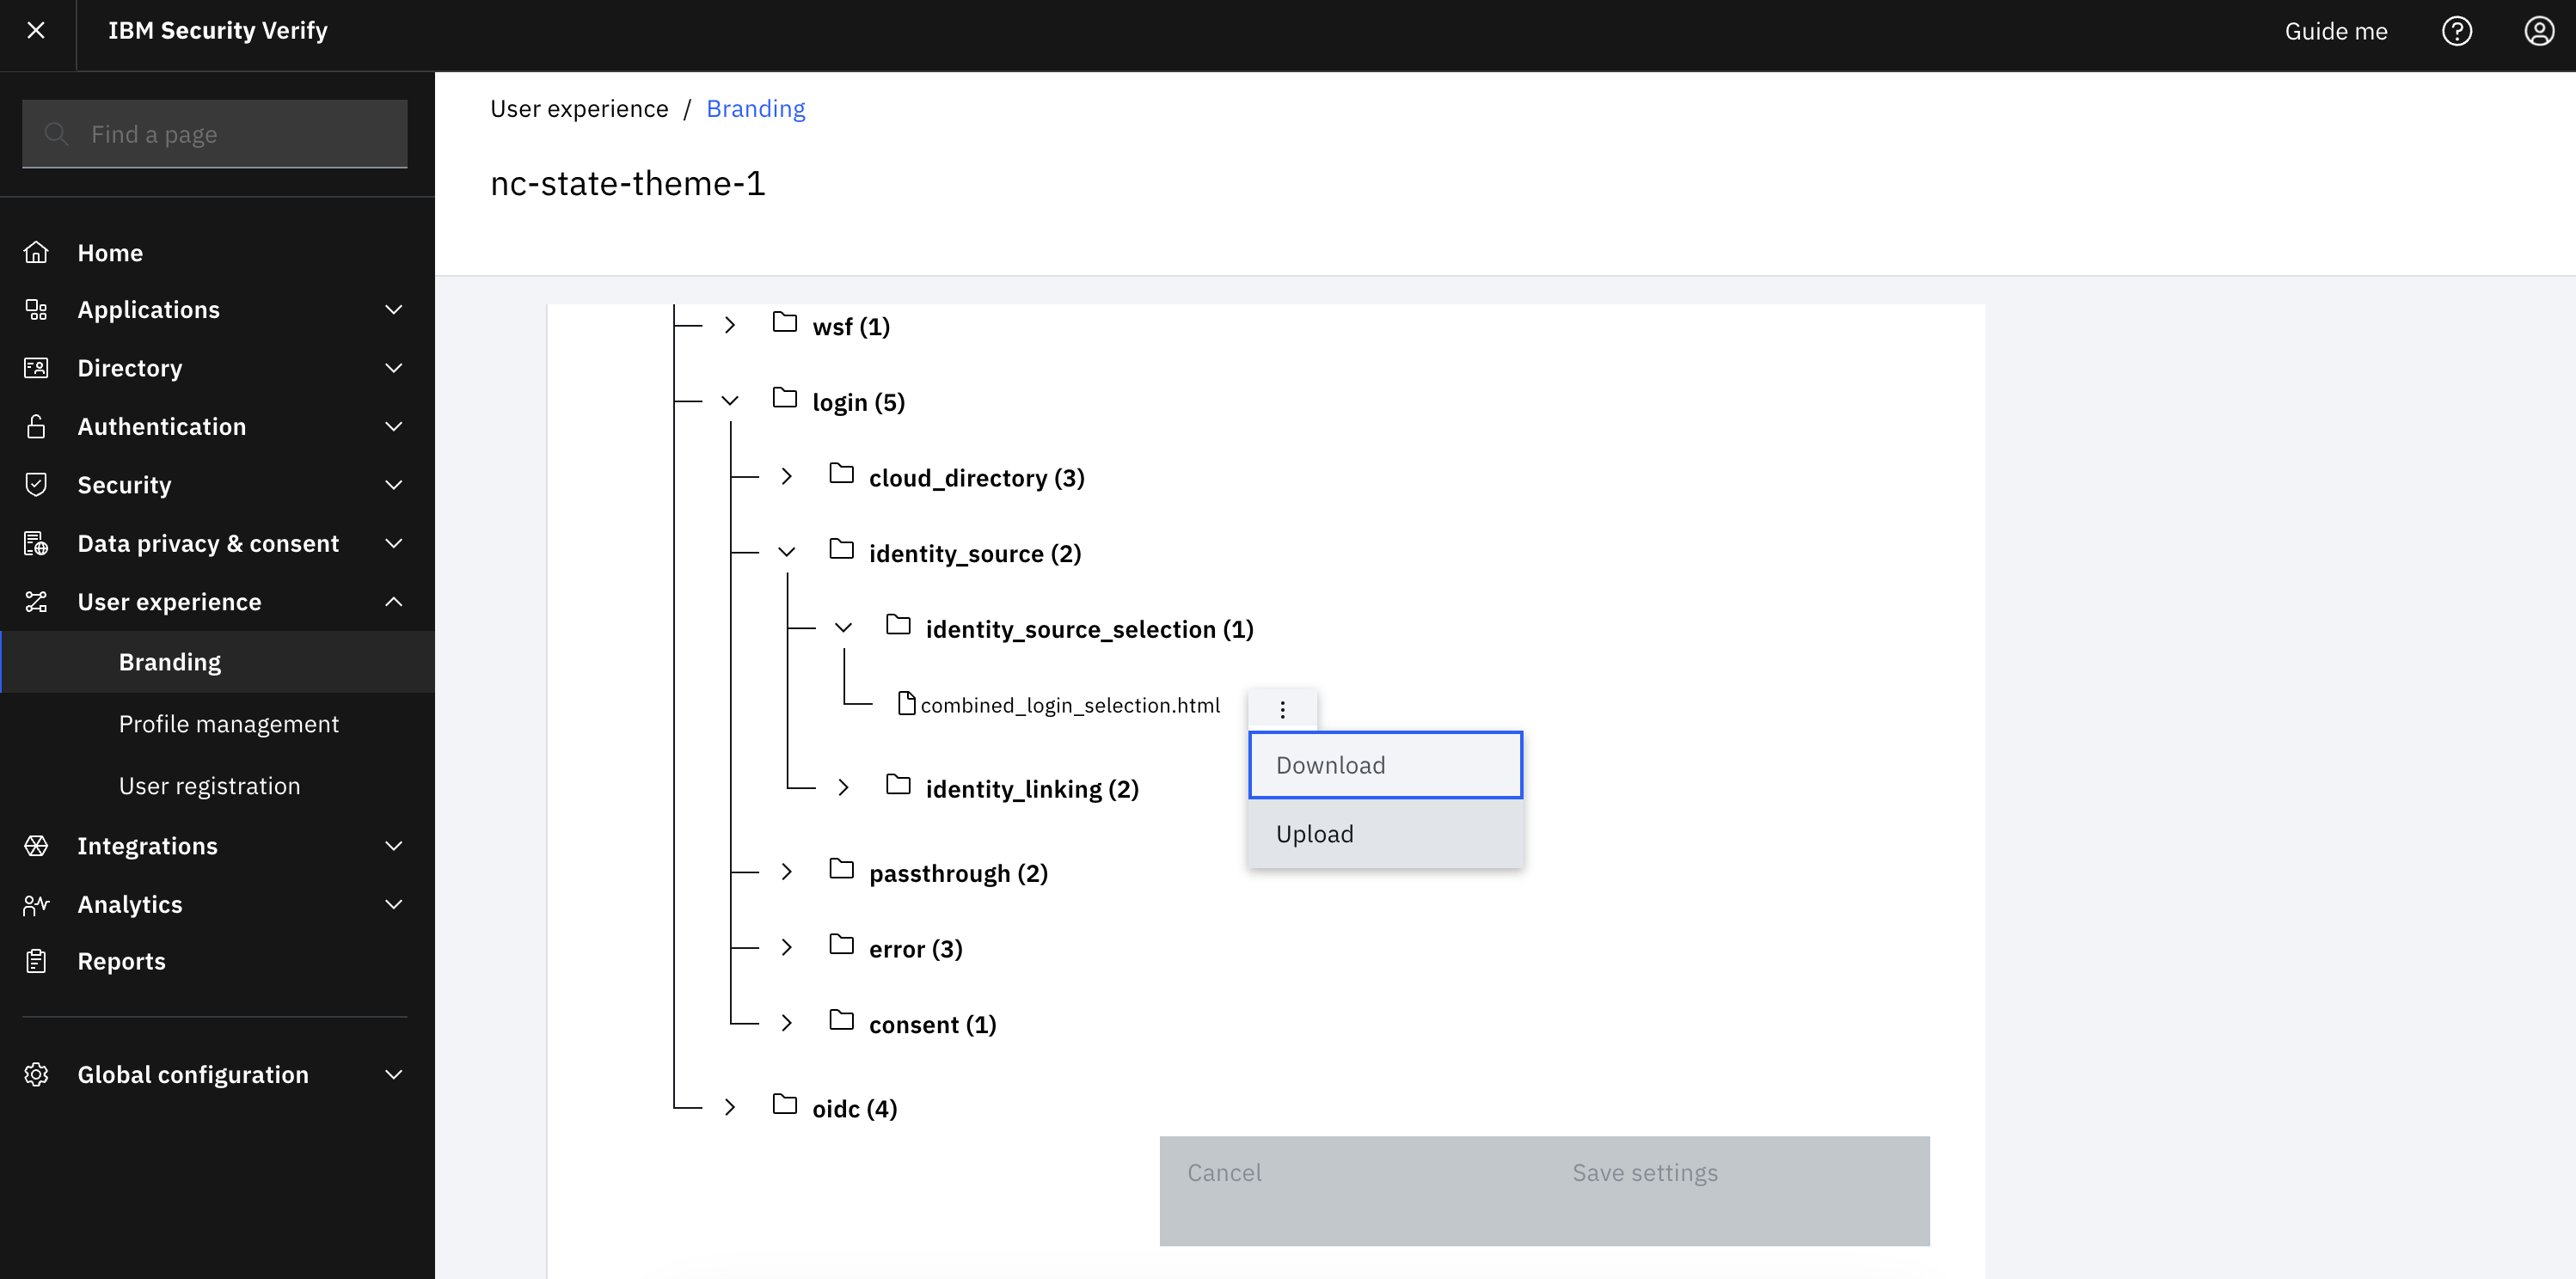
Go back to the theme tile and navigate to “authentication -> login -> identity_source -> identity_source_selection -> combined_login_selection.html”
-
Re-upload the “combined_login_selection.html” that was just updated
Updated 7 months ago
